Step 1: Making Vibration Motor Modules
This step is quite independant of the rest of the glove-making process, so really you can do it at any point along the way. One reason to do it at the beginning though is that the Sugru takes a full day to cure so if you do it earlier on then the vibration motor modules will be ready by the time you need them.
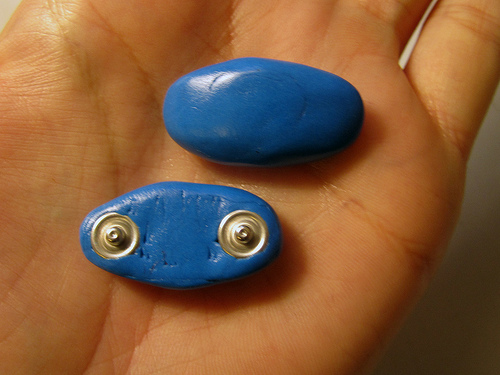
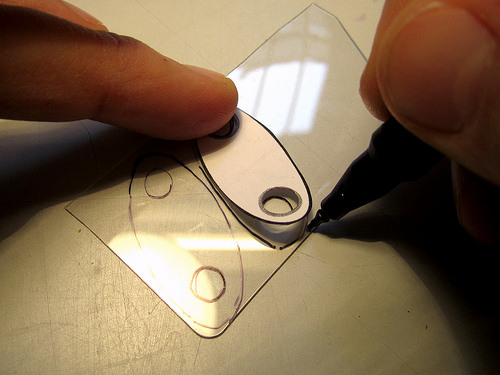
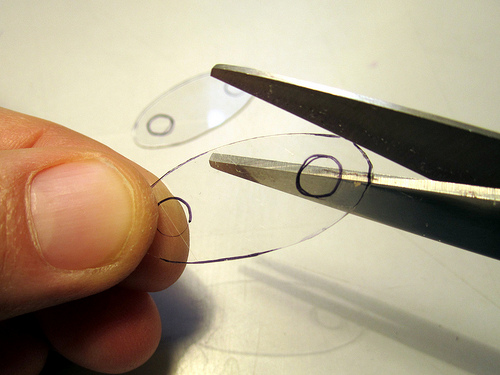
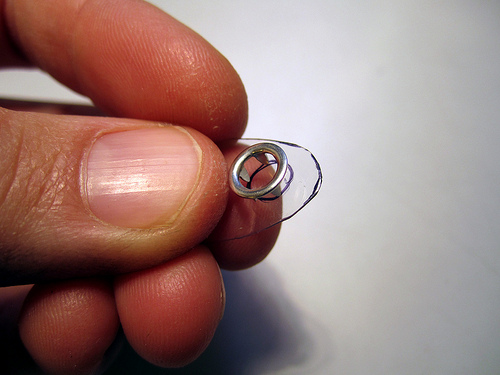
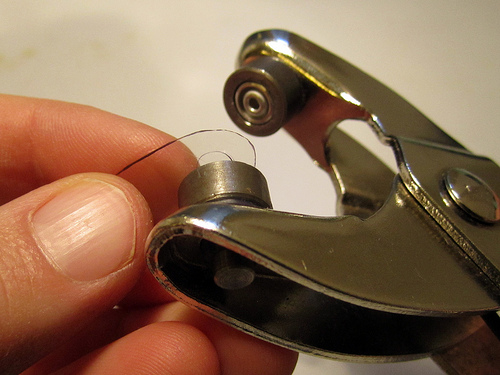
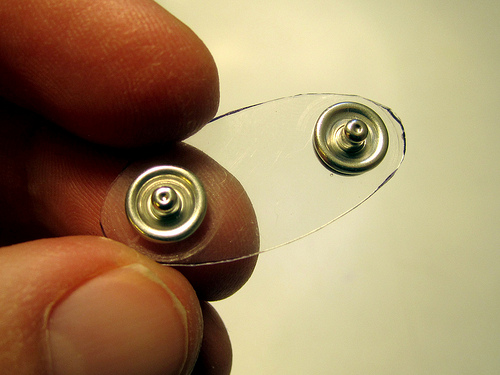
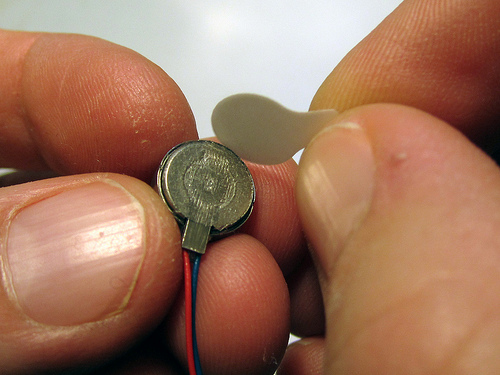
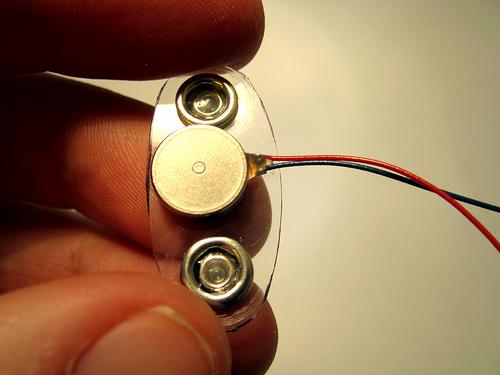
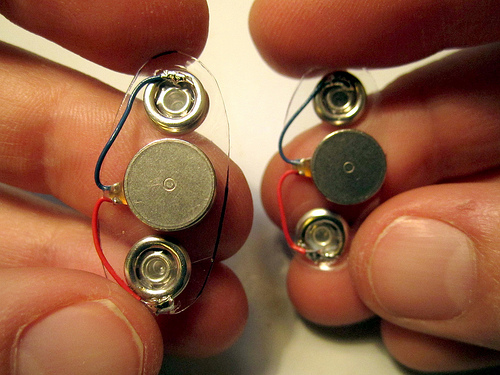
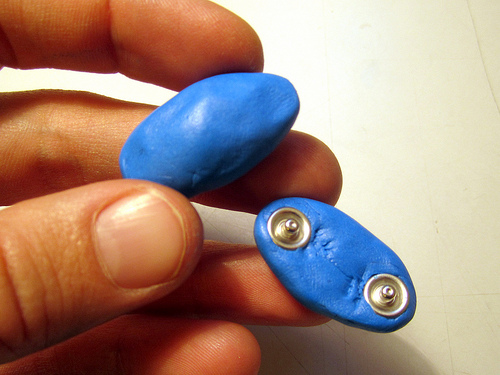
Use some plastic to space the snaps apart the right distance. Mount the vibration motor between the snaps (on the back side) so that the casing of the vibration motor is not touching either metal snap! Solder the leads of the vibration motor to the back sides of the snaps. Use Sugru to cover the vibration motor and the front side of the plastic spacer, so that only the front sides of the snaps are exposed.
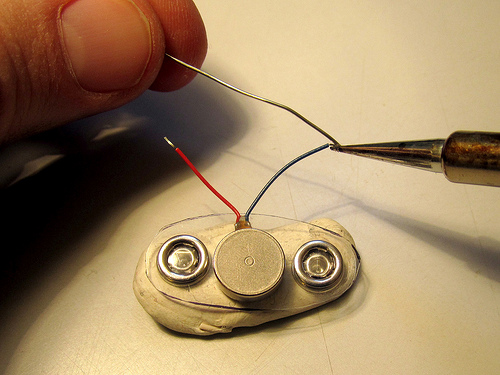

Video: Soldering to the vibration motor snaps
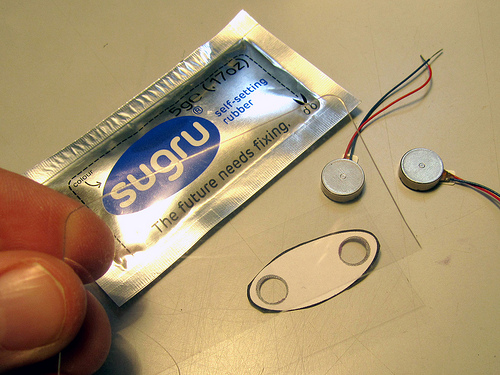
Open pack of Sugru, kneed for a bit and split into two equal parts. One for each vibration motor module.

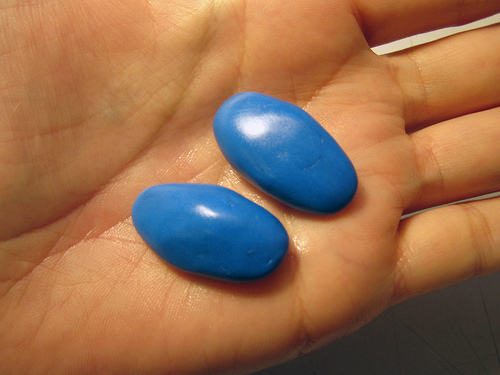
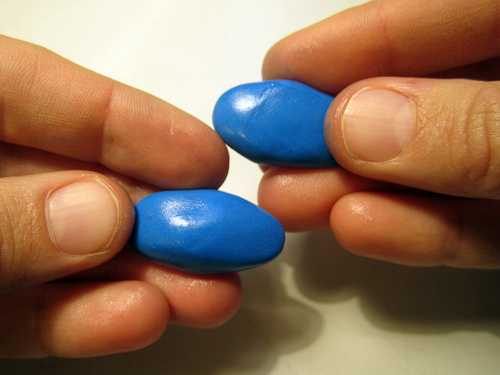
Use some dish-washing soap to give the surface a polished effect:
Hello Hannah,
Why have you dropped this technique for the glove’s latest versions ?
good question. you mean the new motor assembly in the mi.mu collaborator version of the gloves?
>> http://theglovesproject.com/hardware-assembiles/
the snaps are a great connector when working with electronic textiles as circuit traces. but since we reverted back to a traditional PCB and wire design for the collaborator version, the motors have ended up wired and strain-relieved on little motor boards. this option is working well, but in future e-textile versions of the gloves i’d definitely want to go back to using snaps as both fasteners and electrical connectors.