Step 3: Sewing The Gloves
Sewing a pair of gloves starts with cutting out the pattern. If you plan to make a pair of gloves, I would recommend cutting out all the pieces for both pairs of gloves.
Sewing on the Veins
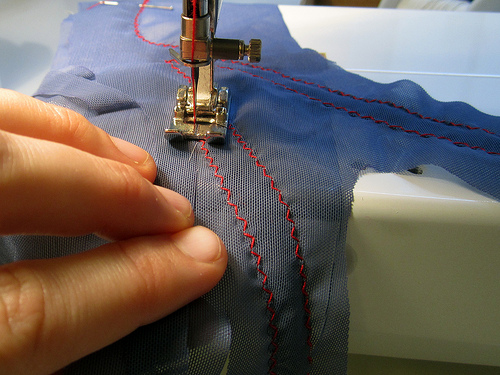
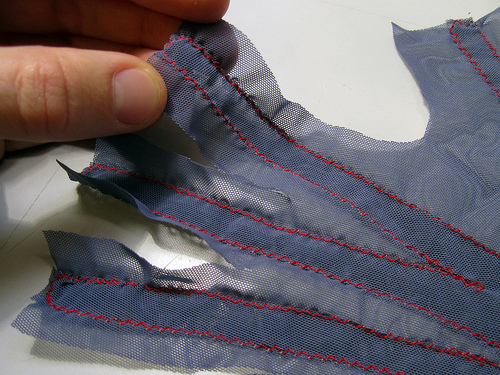
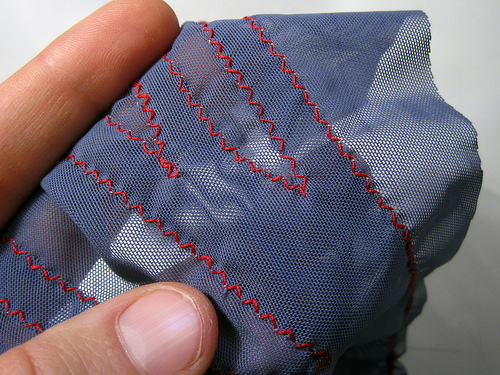
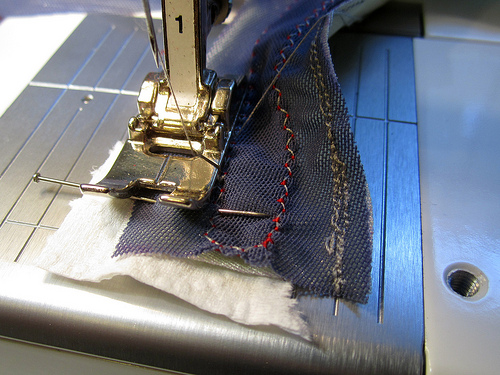
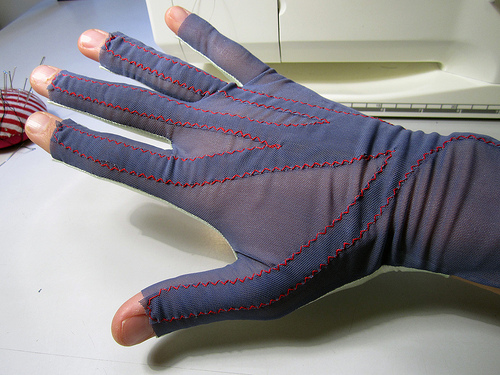
Start by sewing the bend sensor vein fabric to the right side of the top glove pattern. Start at one end and use a 2-3mm wide zig-zag stitch to sew the veins to the glove base. It can help to trace the outline of the vein pattern to the piece of glove pattern fabric that you are sewing it to. To help you keep things in place. But this process does take some practice, patience and time.
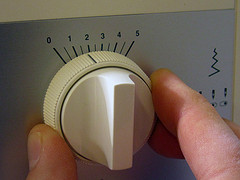
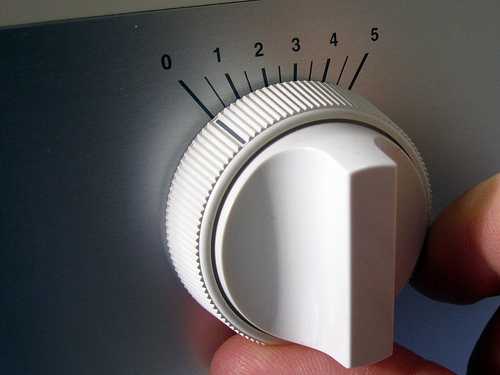
Set the zigzag stitch width and length to something you are comfortable with. Functionally the stitch should allow the fabric to stretch while holding the veins to the top glove fabric. You can make the stitch less vidible by making it smaller and match the top thread colour to your fabric, or you can make it stand out by choosing a colour that stands out. I set my stitch width between 1.5 and 2 and the length around 2.
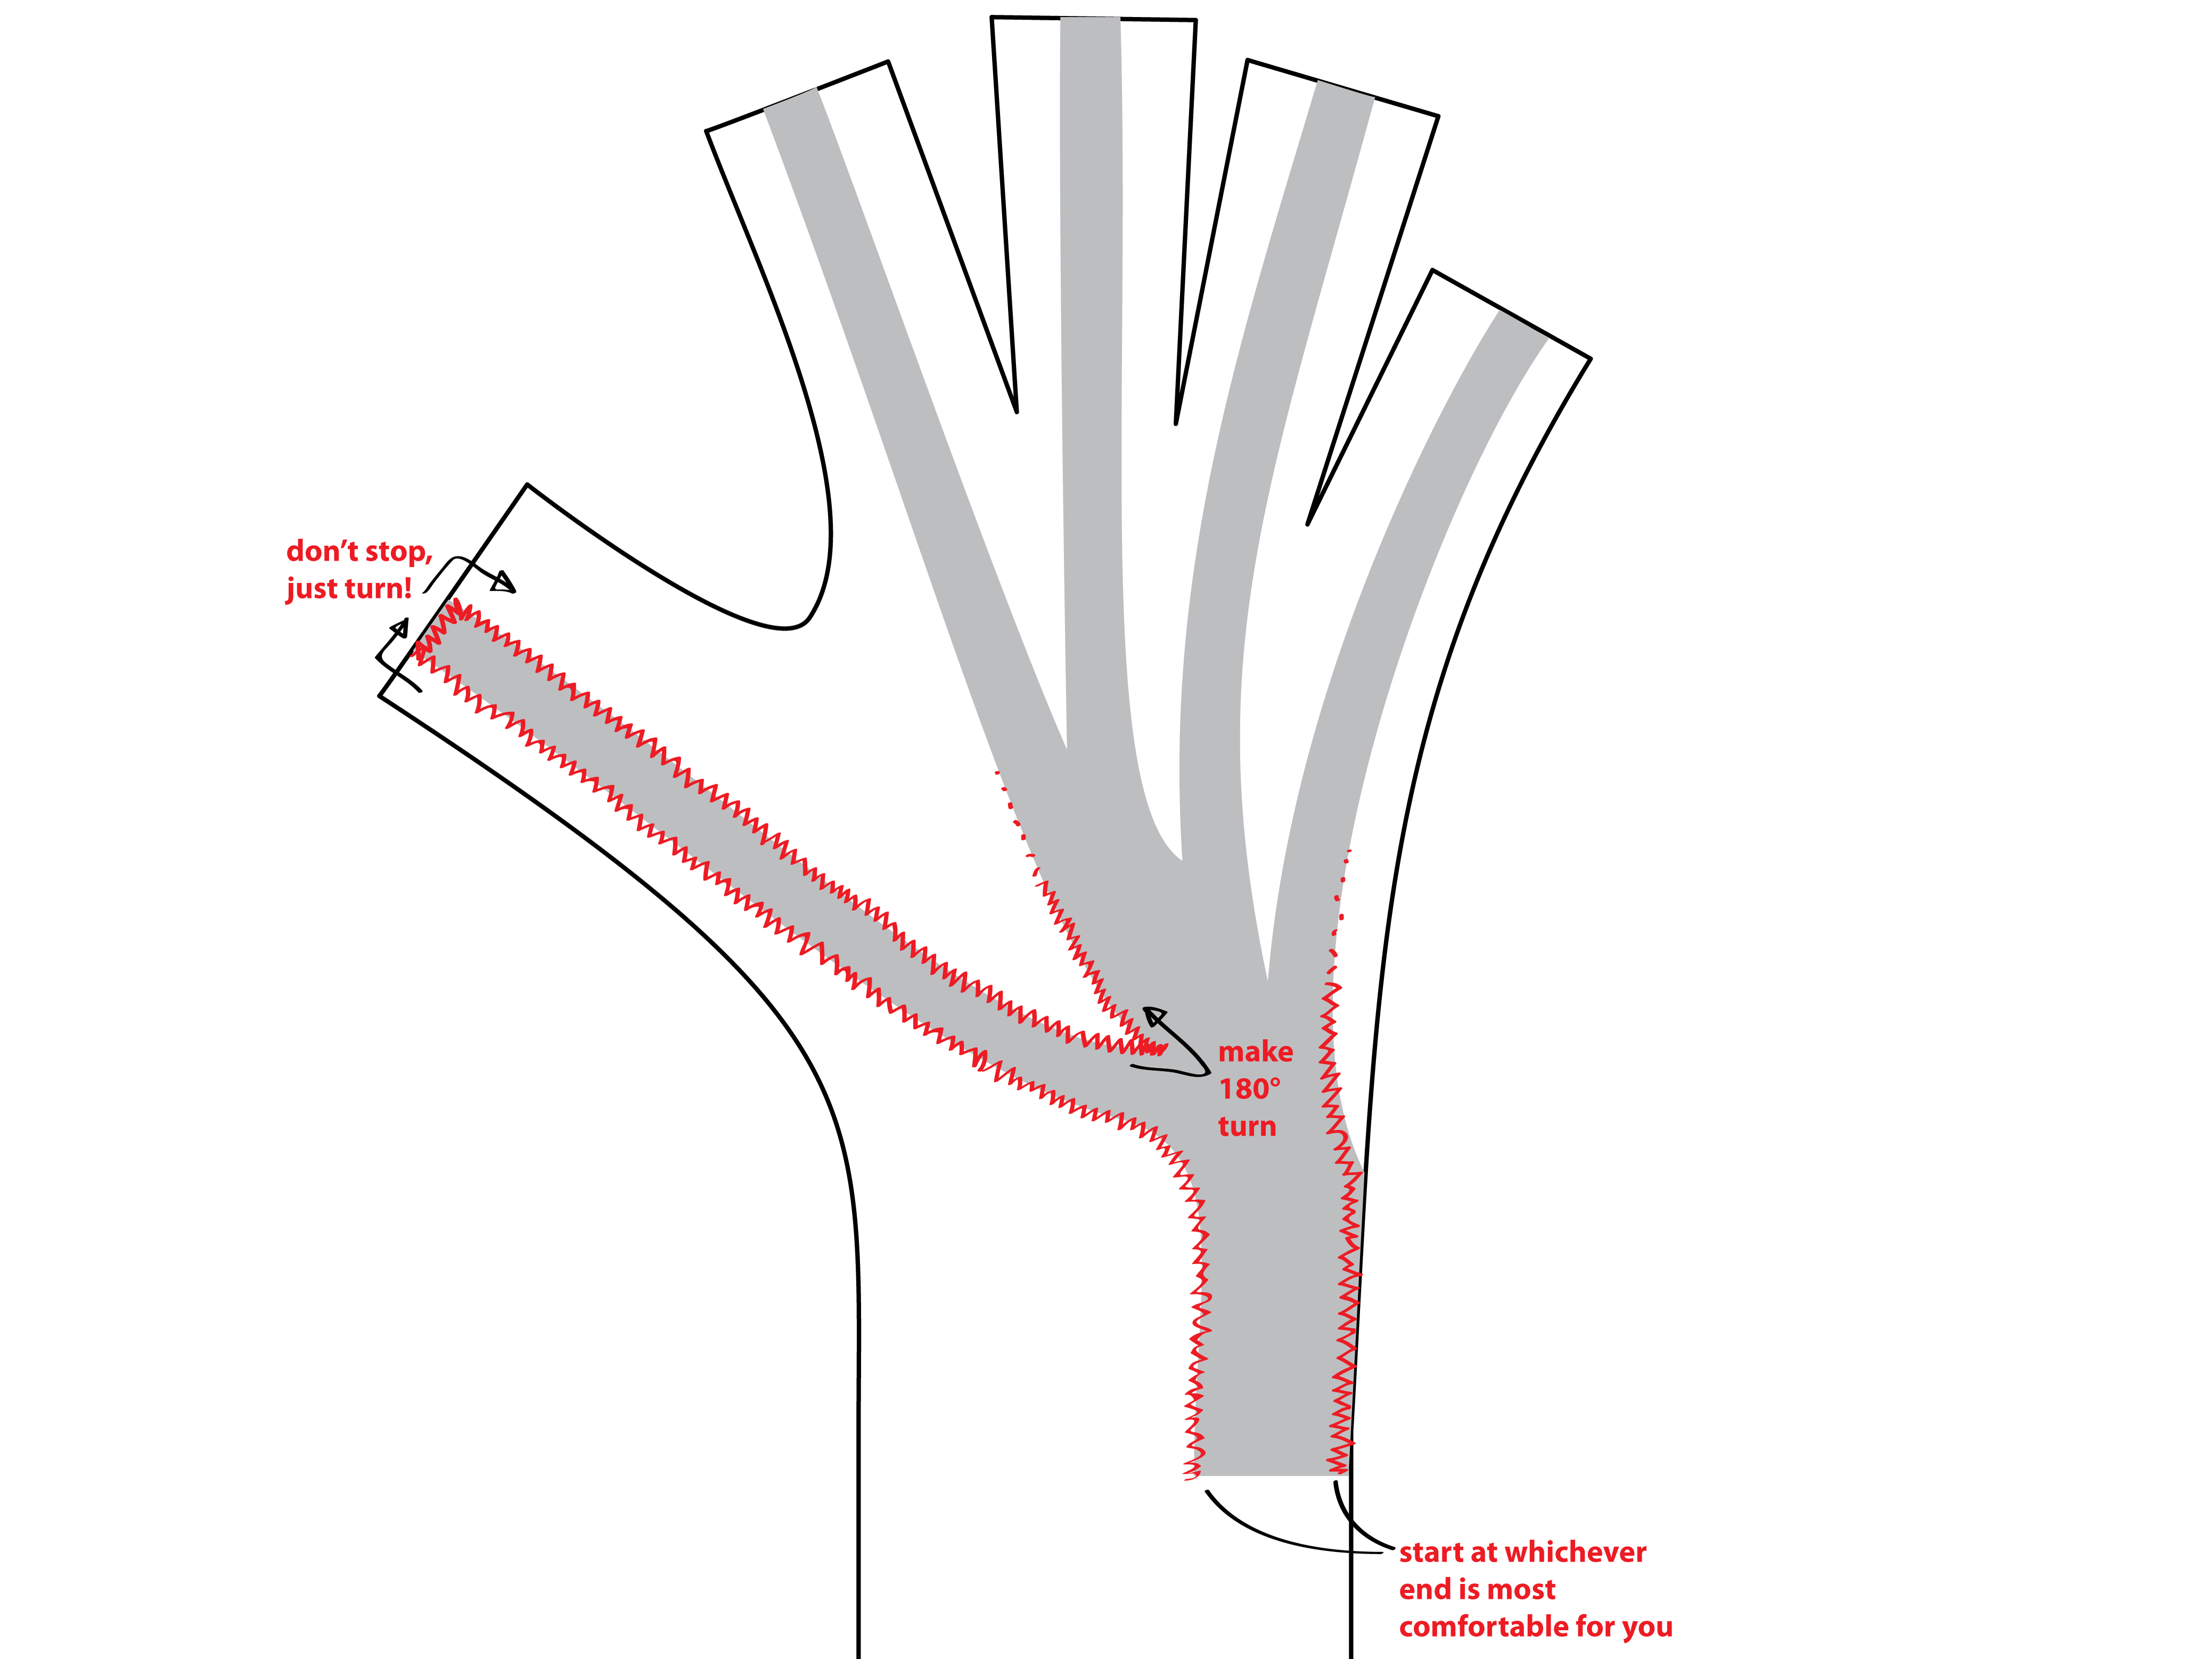
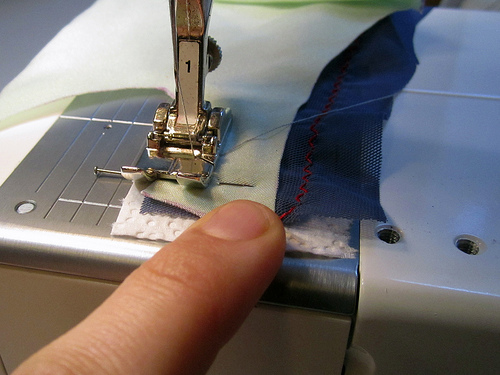
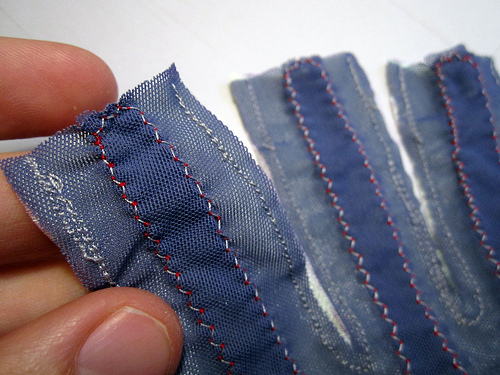
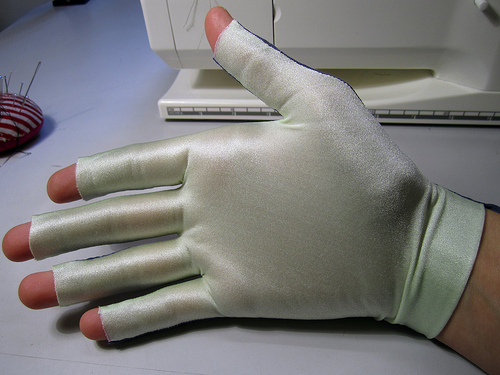
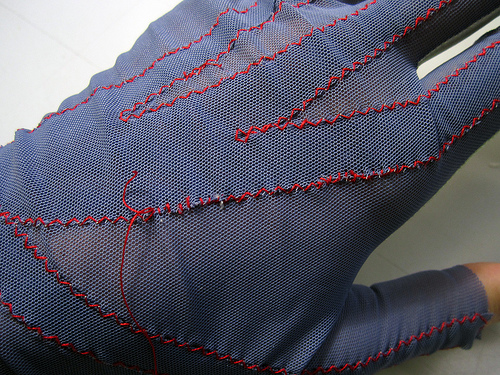
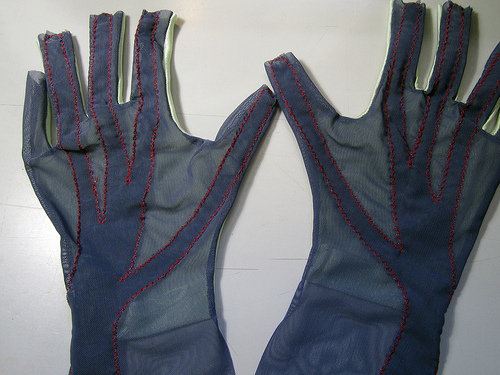
The following illustration shows how the veins are sewn to the top glove fabric:
Video: Stitching the veins to the outer side of the top piece of glove fabric
This video shows how to start sewing with the zig-zag stitch, turn a corner at the end of the fingertip and make a full turn where the veins converge.
Video: The full process of stitching down the veins an dhow to stop and start and fix things if your sewing goes off-track
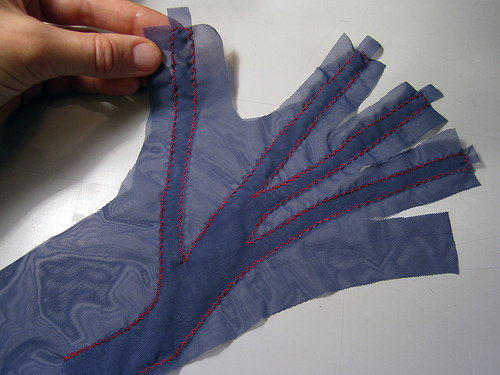
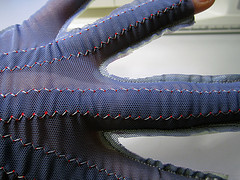
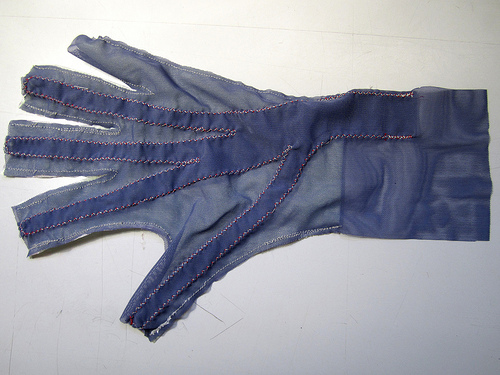
For this particular glove I decided to cut off the little-finger vein because I was not planning on inserting a bend sensor on the little finger:
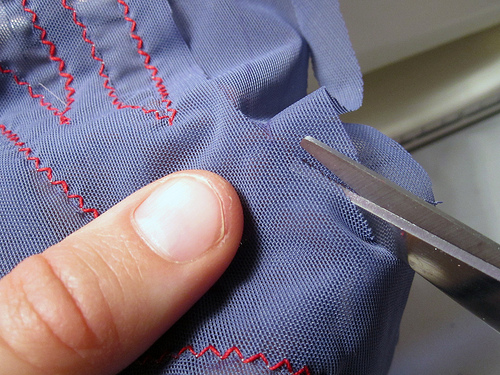
After sewing down the veins you can snip off the extra vein fabric that stands over the edge of the fingertip:
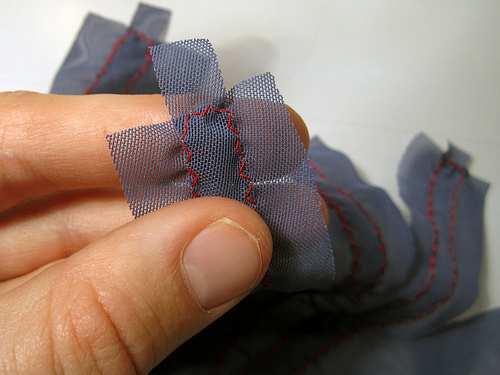
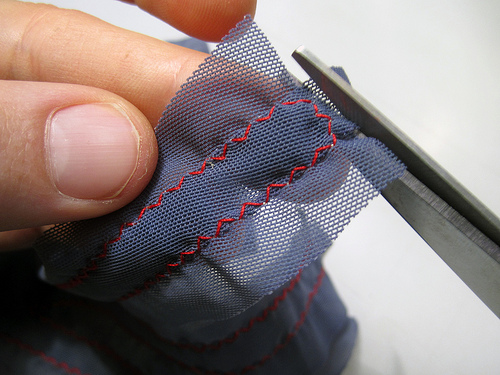
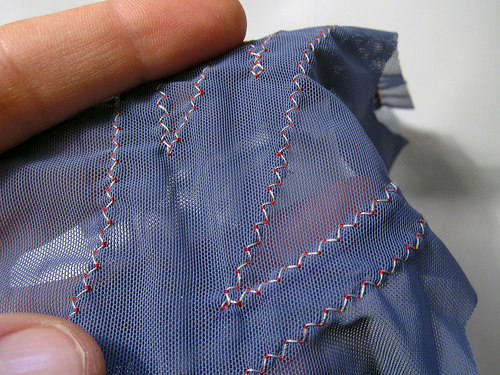
When you’re finished check your seams to make sure you have not missed any places. Stretch the veins in both directions as well as the fabric and make sure the seams hold up. If you notice any seams coming undone, go back over them now.
Sewing Together the Top and Bottom Glove Halves
Once the veins are fixed to the top glove fabric, lay the top and bottom pieces of glove fabric together (right sides facing in) and prepare to sew a straight stitch with tightly spaced stitches (2-3mm) all the way around the edges, doubling back on your sewing at the beginning and end of each finger ending. Stopping and starting the sewing is the biggest pain. Don’t forget to fold the bottom glove fabric back on itself to create a double layer where the hand enters the glove.
The following illustration shows how the two glove parts are sewn together:
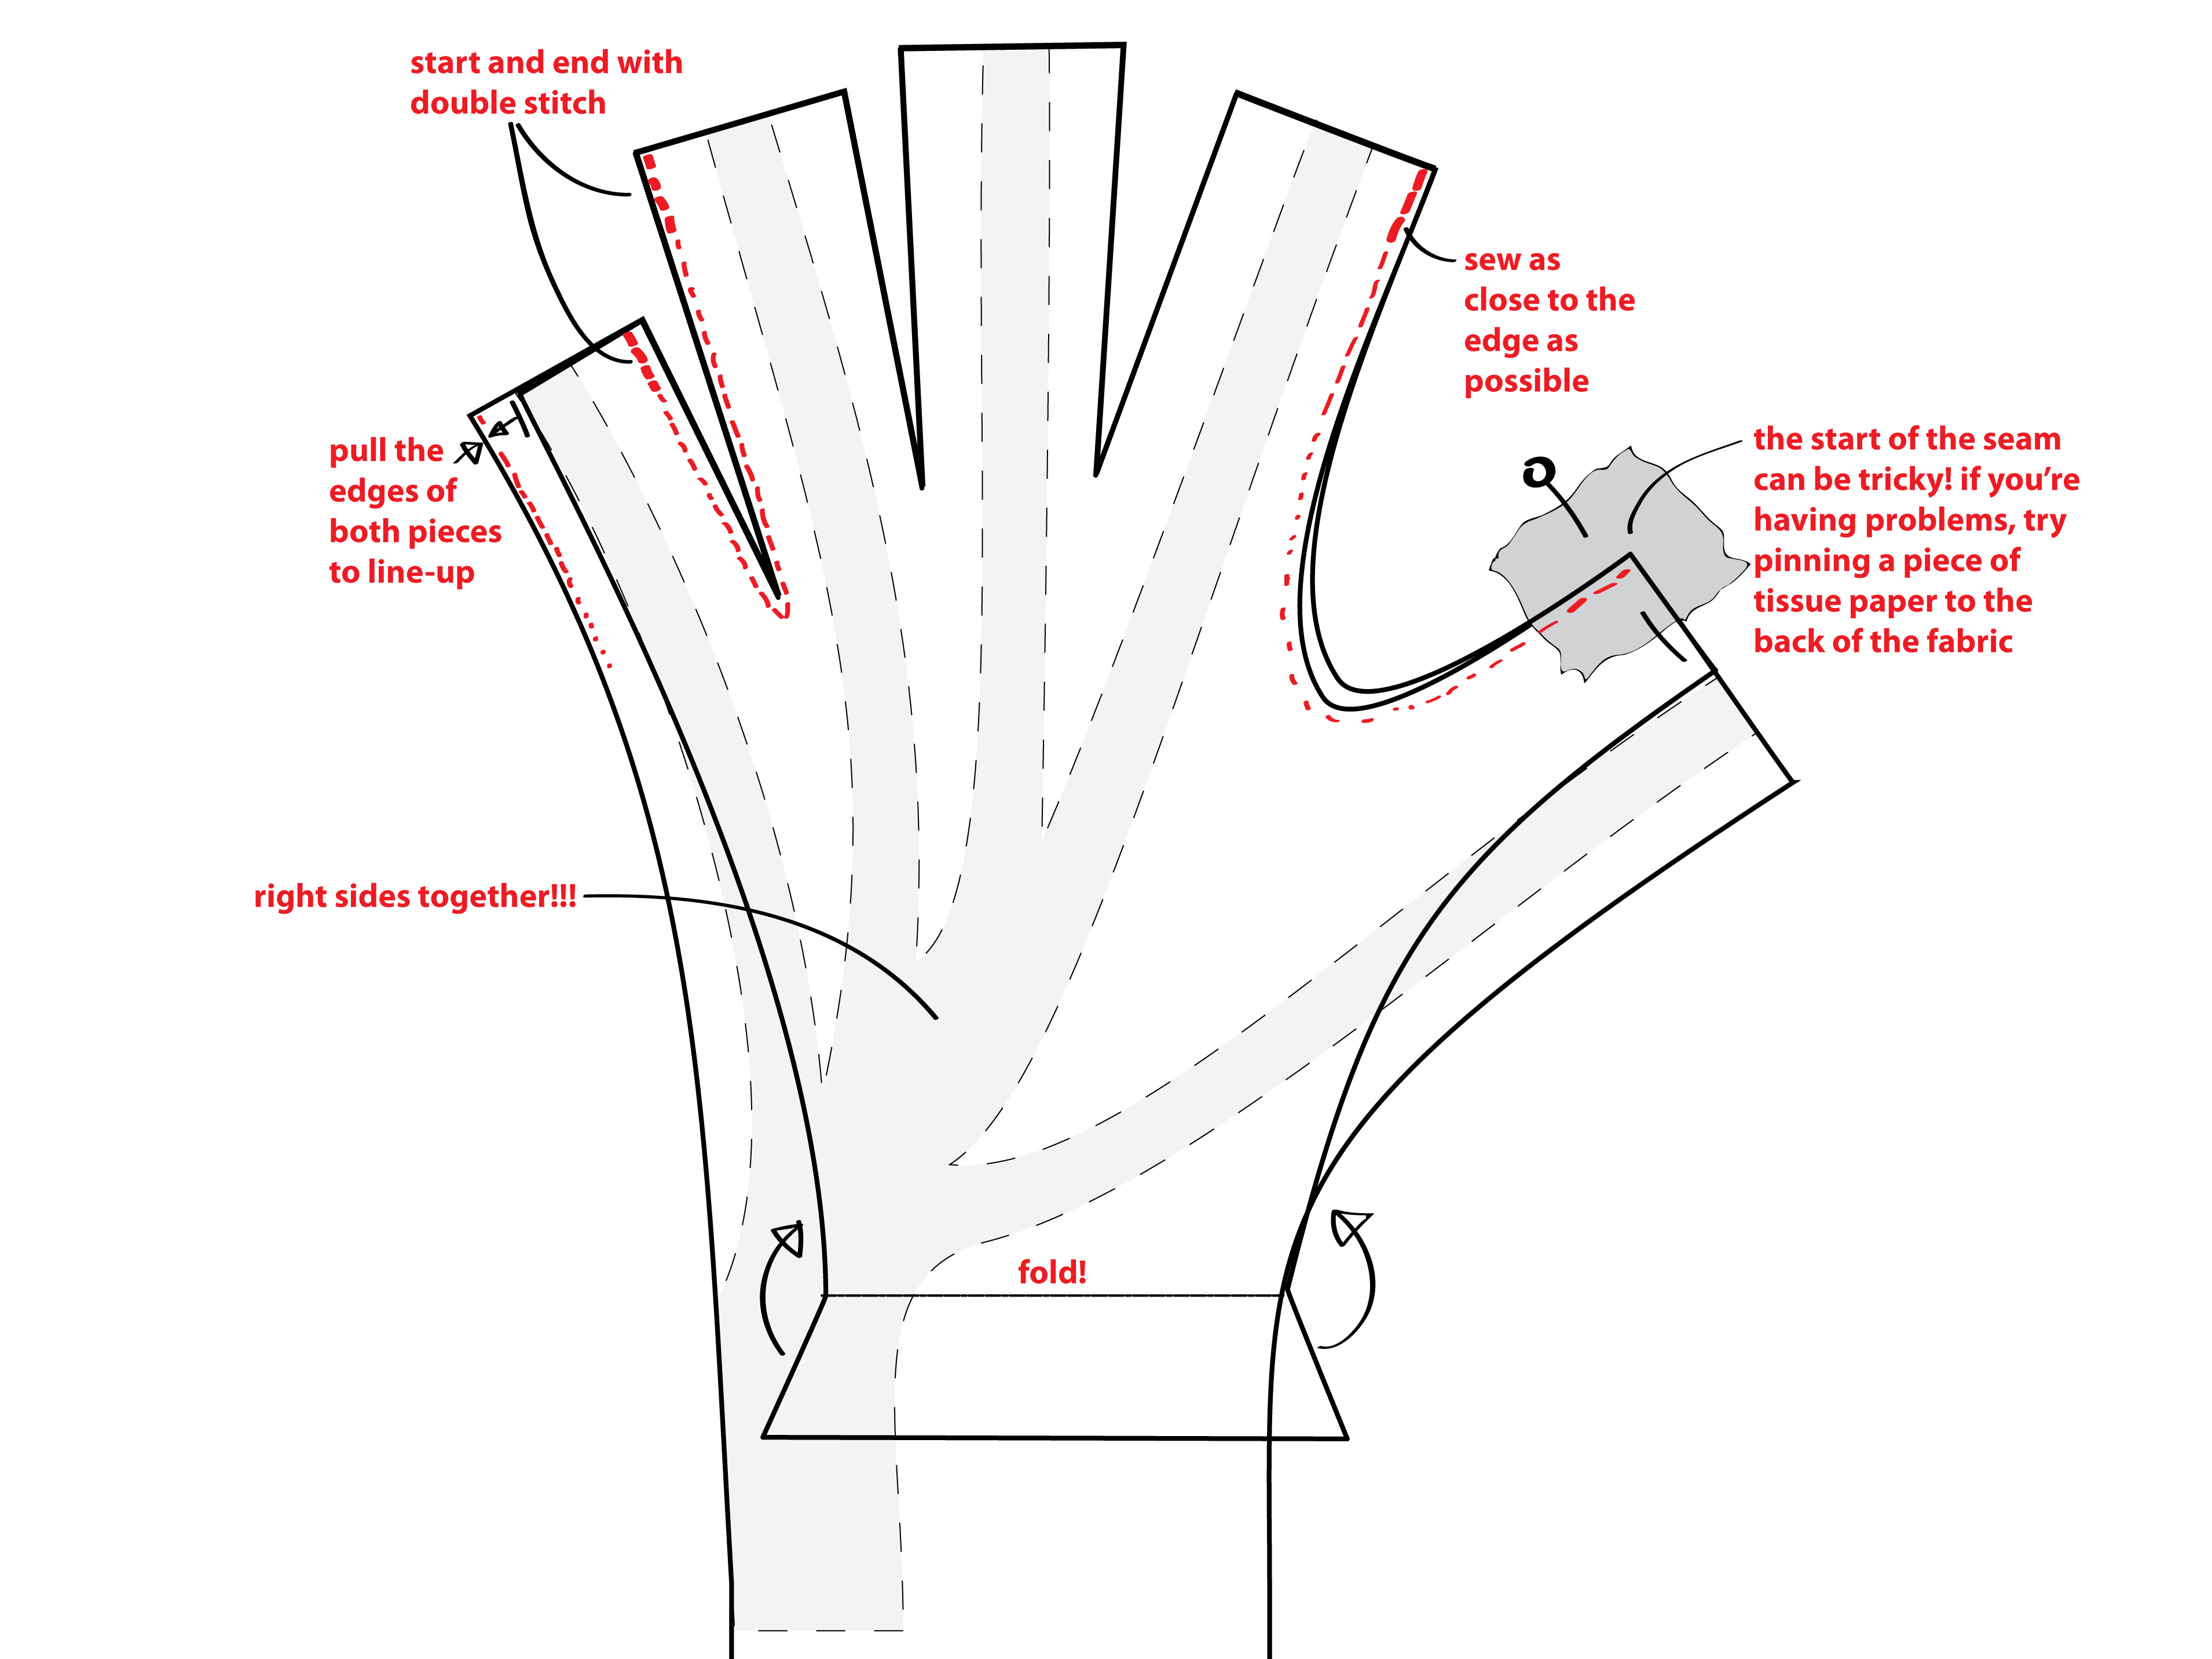
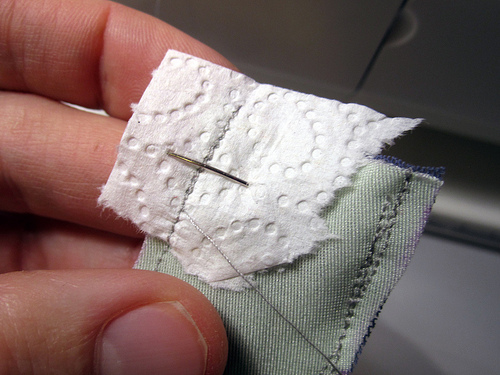
TIP: use some tissue paper under both layers of fabric (or pin the pieces of fabric together) when you sew the top and bottom halves together. This way the starting and ending bits of corner fabric won#t get pulled into the sewing machine, making it impossible to sew.


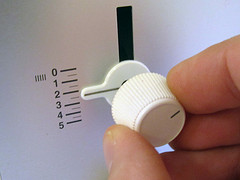
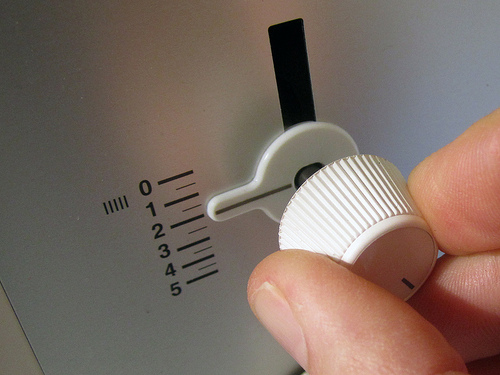
Set you stitch to be a streight stitch with close spacing (I set mine to be 0 wide and 2 long). And change the thread if you want to use different colours to match the fabric:
Instead of using the reverse stitch, I found it worked better to start stitching towards the end, then make a 180 degree turn and sew back on myself, as shown in the photos bellow:

Video: Sewing from one fingertip to another, using tissue paper to help at the beginning, but not at the end
There are two other videos of this step:
>> http://www.youtube.com/watch?v=c_FsXK9W2Q8
>> http://www.youtube.com/watch?v=cf8hu3qW1Bg
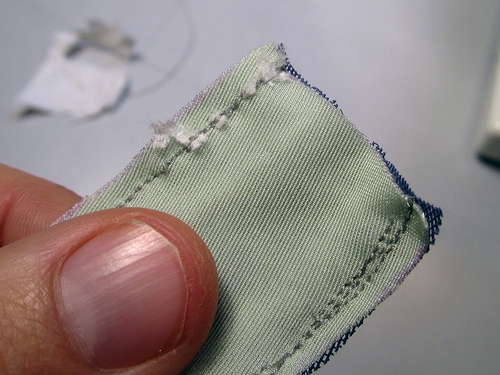
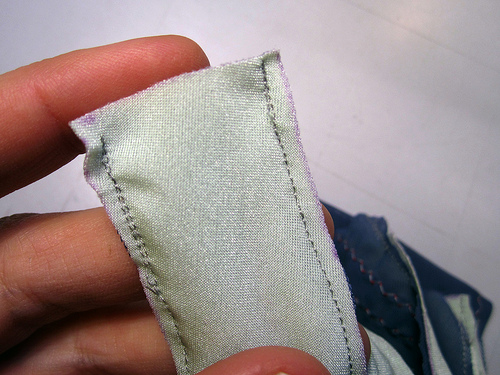
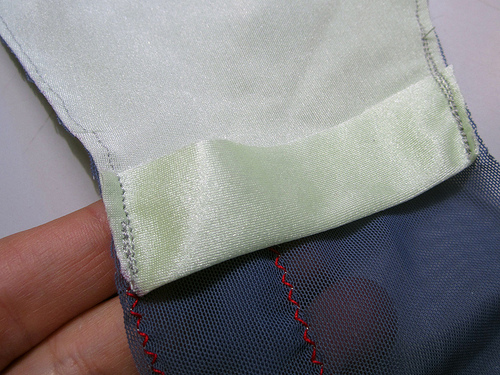
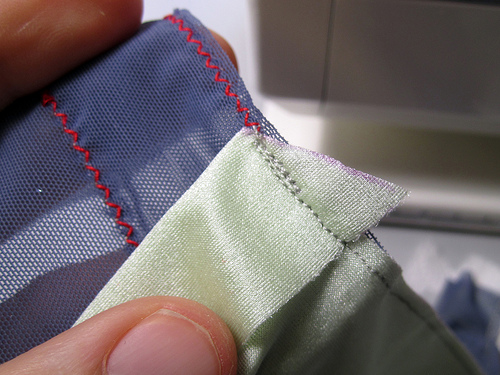
After you have finished sewing, remove the tissue paper and make sure you connected both layers and that the stitch is stretchy enough to be robust. It should look something like this at either end:
Note: Sew all the in-between finger seams first, before closing the gloves by sewing down the outer hand seams.
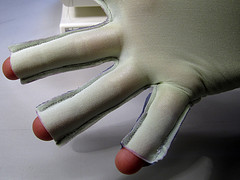
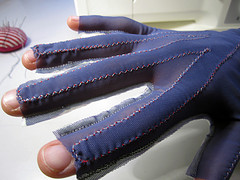
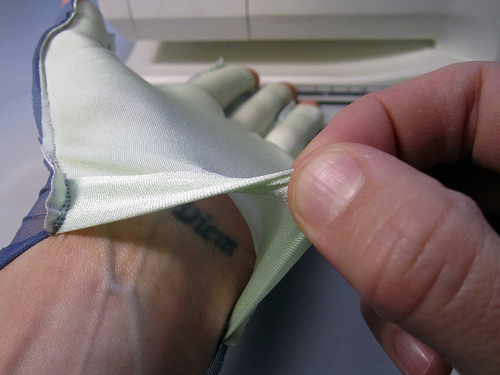
After sewing together the gloves, before you turn them inside out, put them on and check all the seams to make sure you did not miss anything:

Congratulations! Now you have finished the first major part in making The Gloves.
Sewn-together gloves, before turning right-side out:

Video: Sewing an outer-hand seam from fingertip to folded-over fabric at wrist
The folded-over fabric at the wrist is intended to give the fabric extra stability where it is stretched the most:
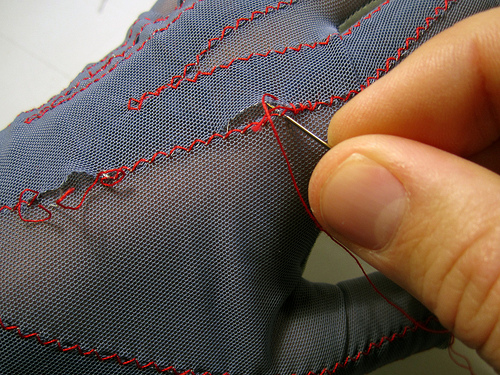
If after putting the gloves on, you notice that you did miss some places along the veins you can med any gaps by sewing by hand:

Hello Hannah
Your documentation looks great!
Some questions:
I found that the straight stitch for the seam which attaches the two sides of the glove was way too stiff, so I actually used a zig-zag-stitch instead (which however seems strangely to make a seam allowance of additional 1-2 mm necessary, but maybe my fabric was just not stretchable enough). Did you use some kind of stretchable thread?
You wrote: “If after putting the gloves on, you notice that you did miss some places along the veins you can med any gaps by sewing by hand:”
May be it makes sense to additionally introduce a “stretch-test” right after attaching the veins? I.e like add to the sentence
“When you’re finished check your seams to make sure you have not missed any places. If you have, go back over them .”
something like “Stretch the fabric in order to check wether the seam still hold under tension.”