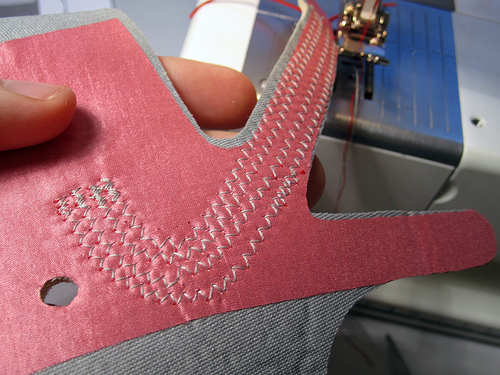
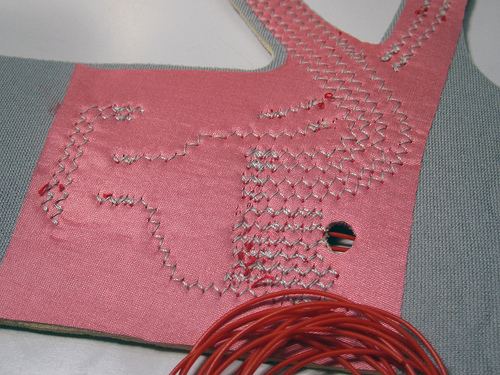
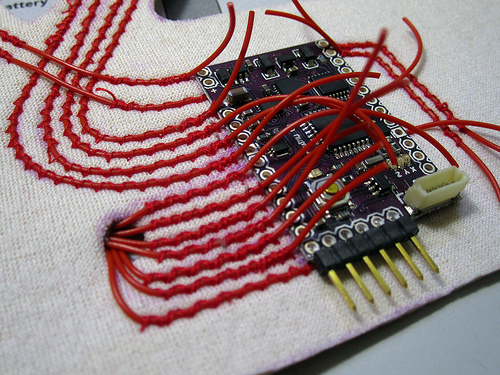
Step 5: Sewing the Circuit
Before sewing to the neoprene you first want to fuse some non-stretch fabric to the back of the neoprene in the area where you will sew the circuit. This is to create a strain-relief, so that when the neoprene stretches it does not pull at the wires and the solder joints.
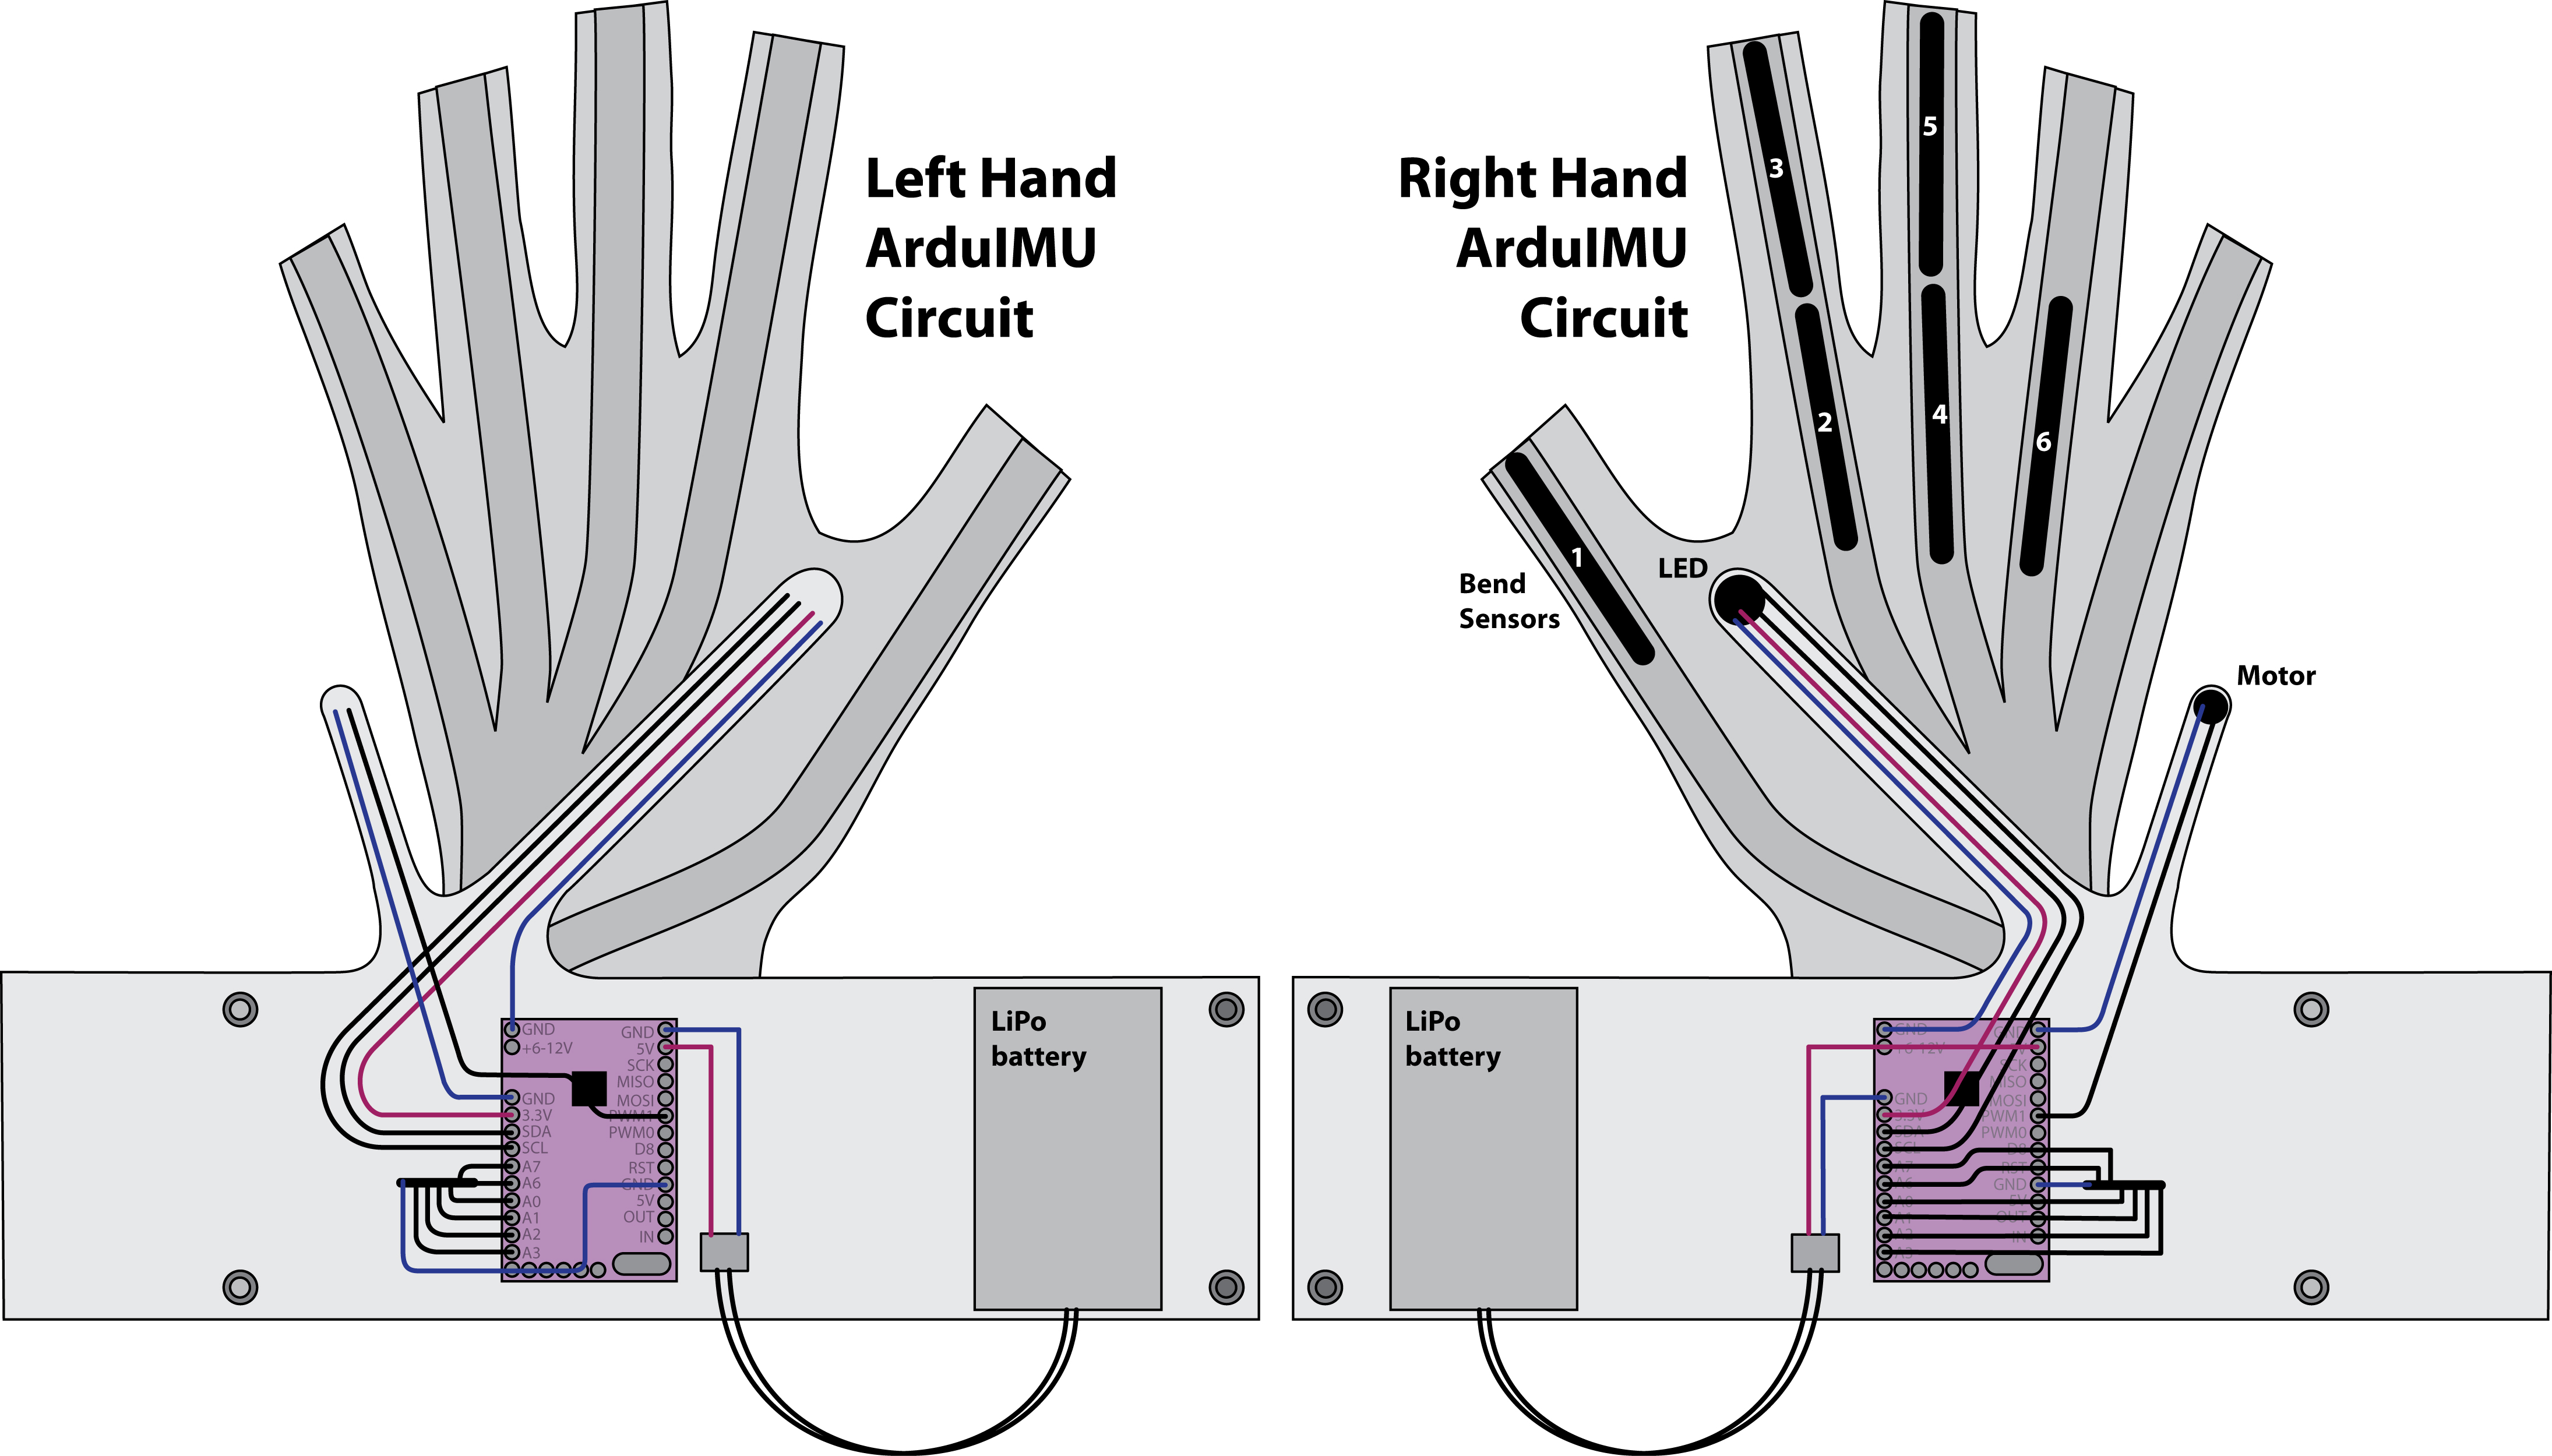
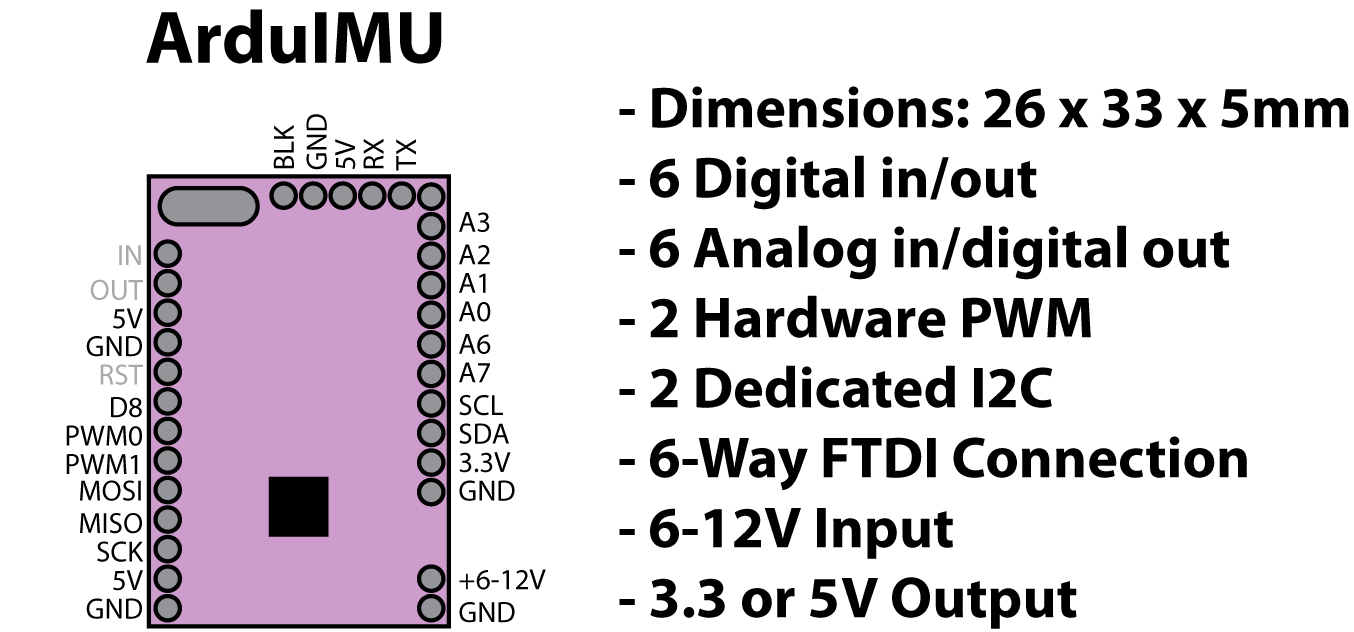
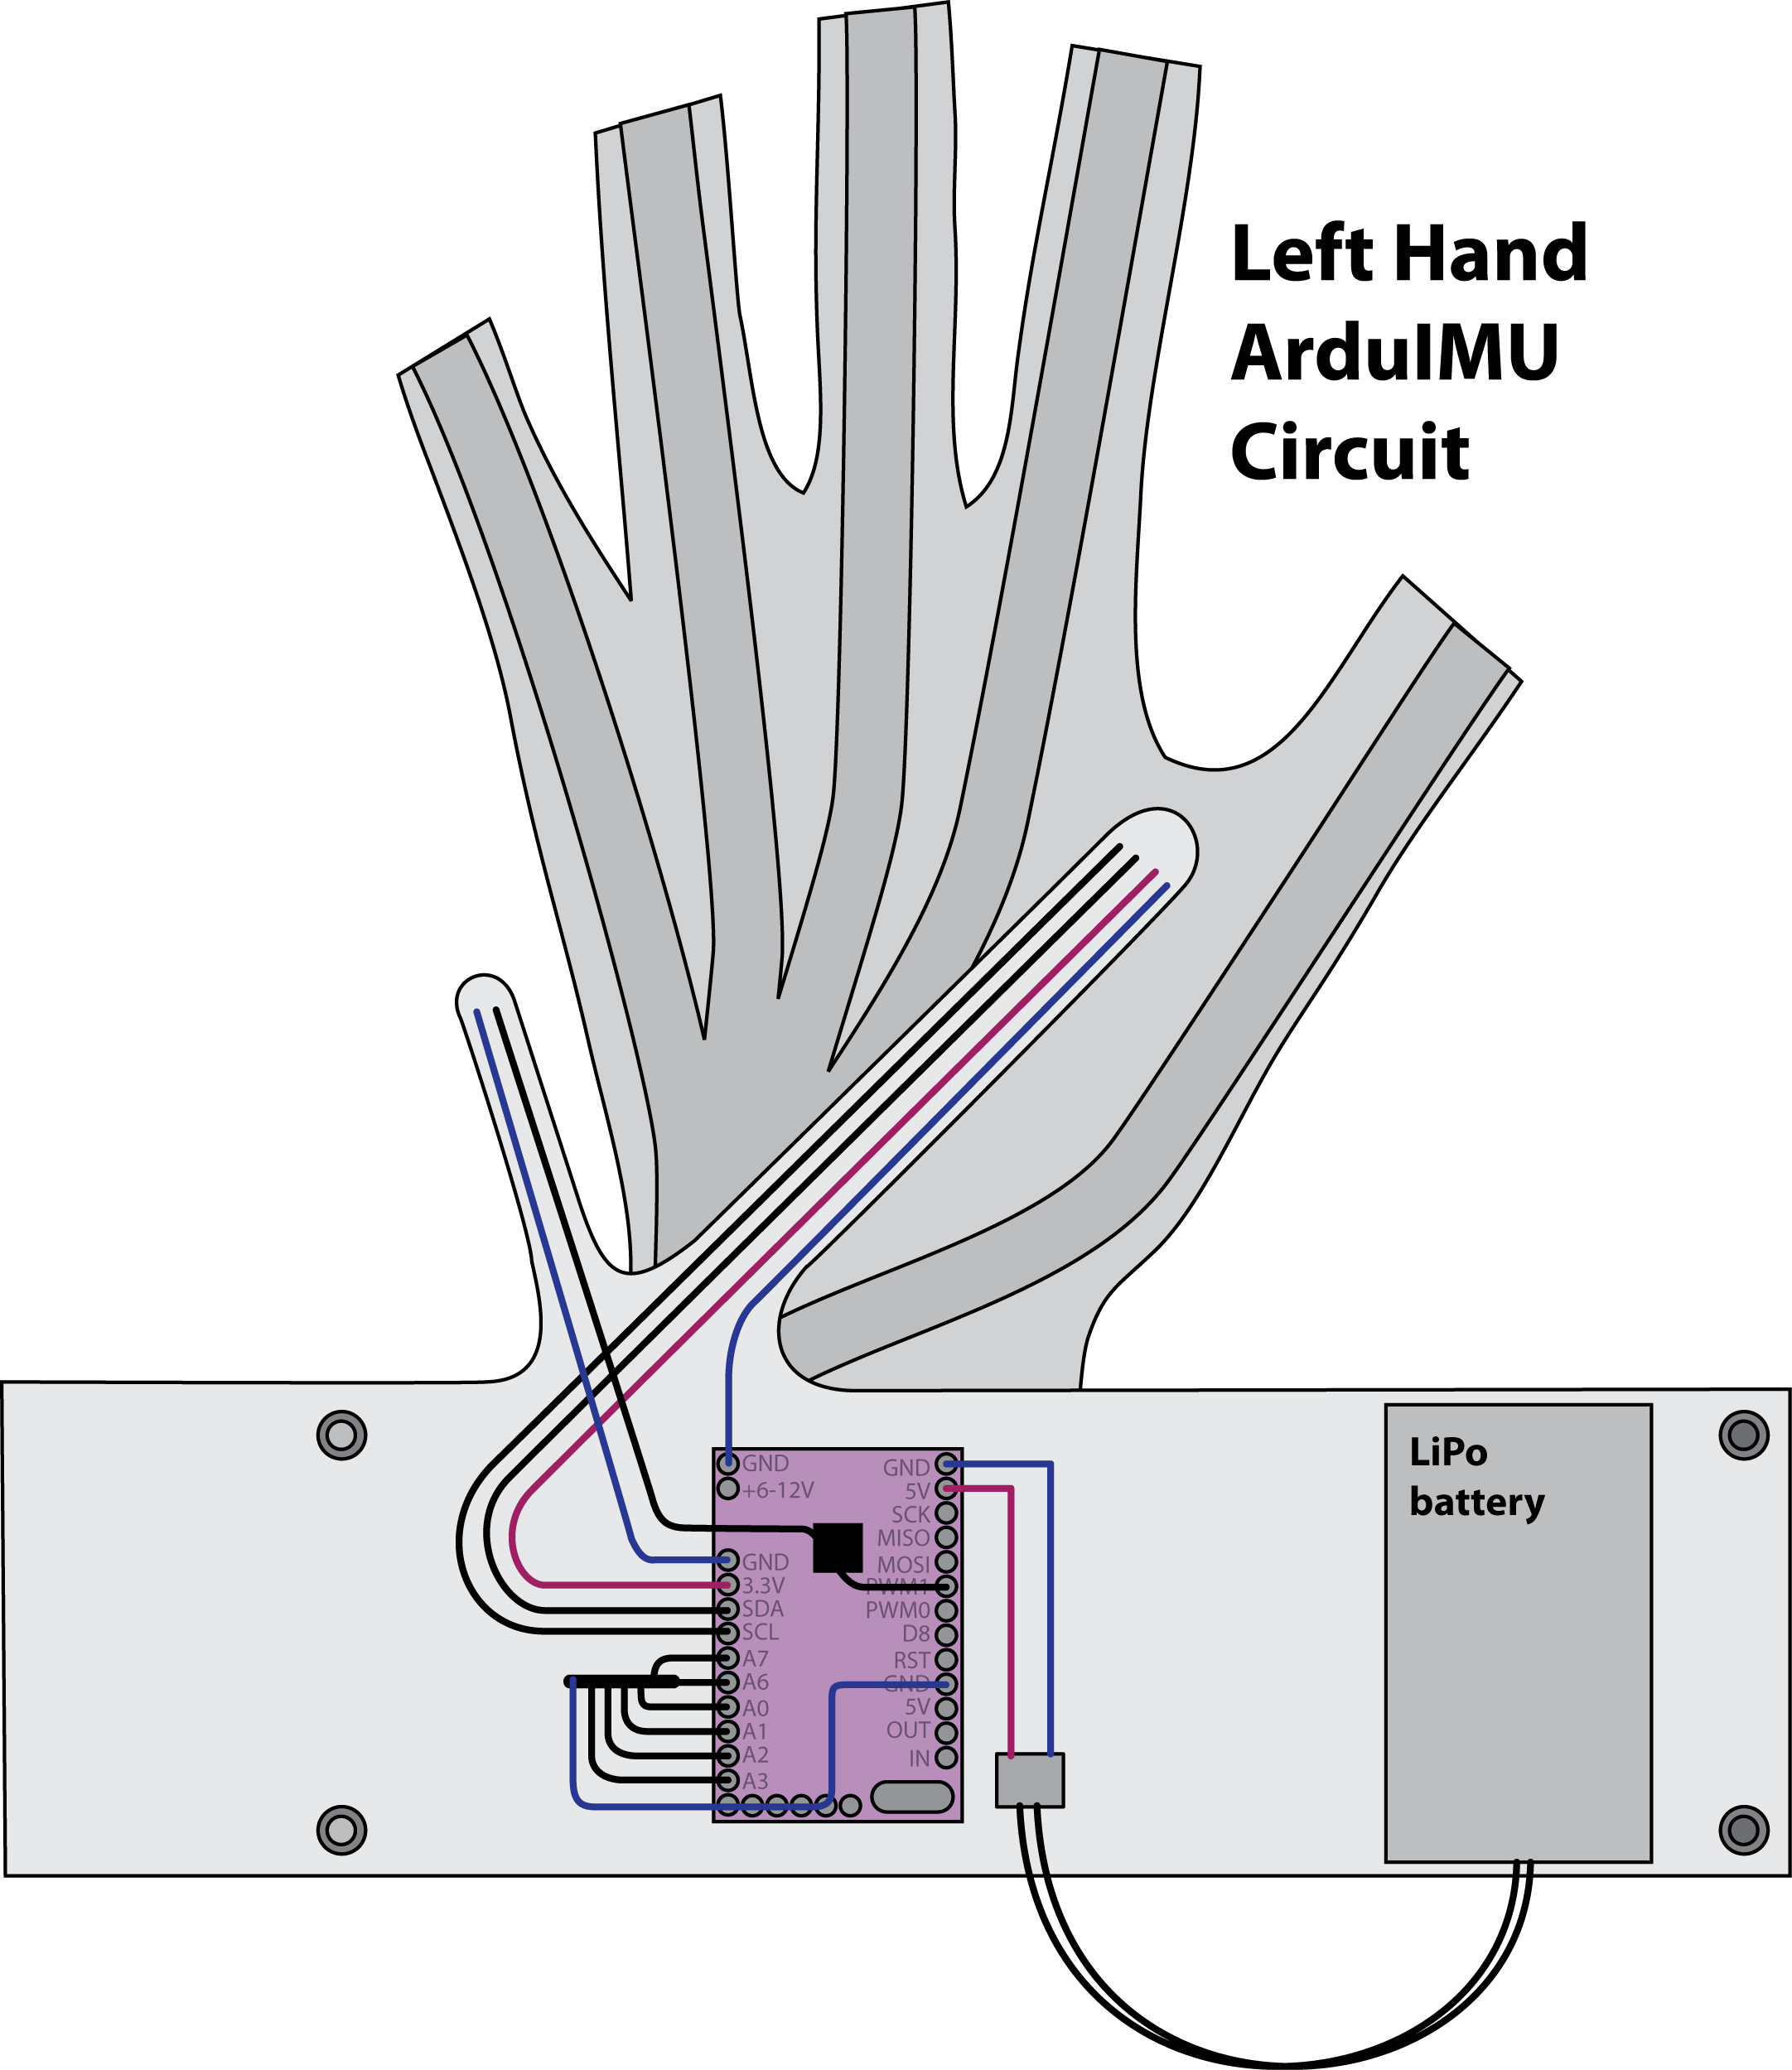
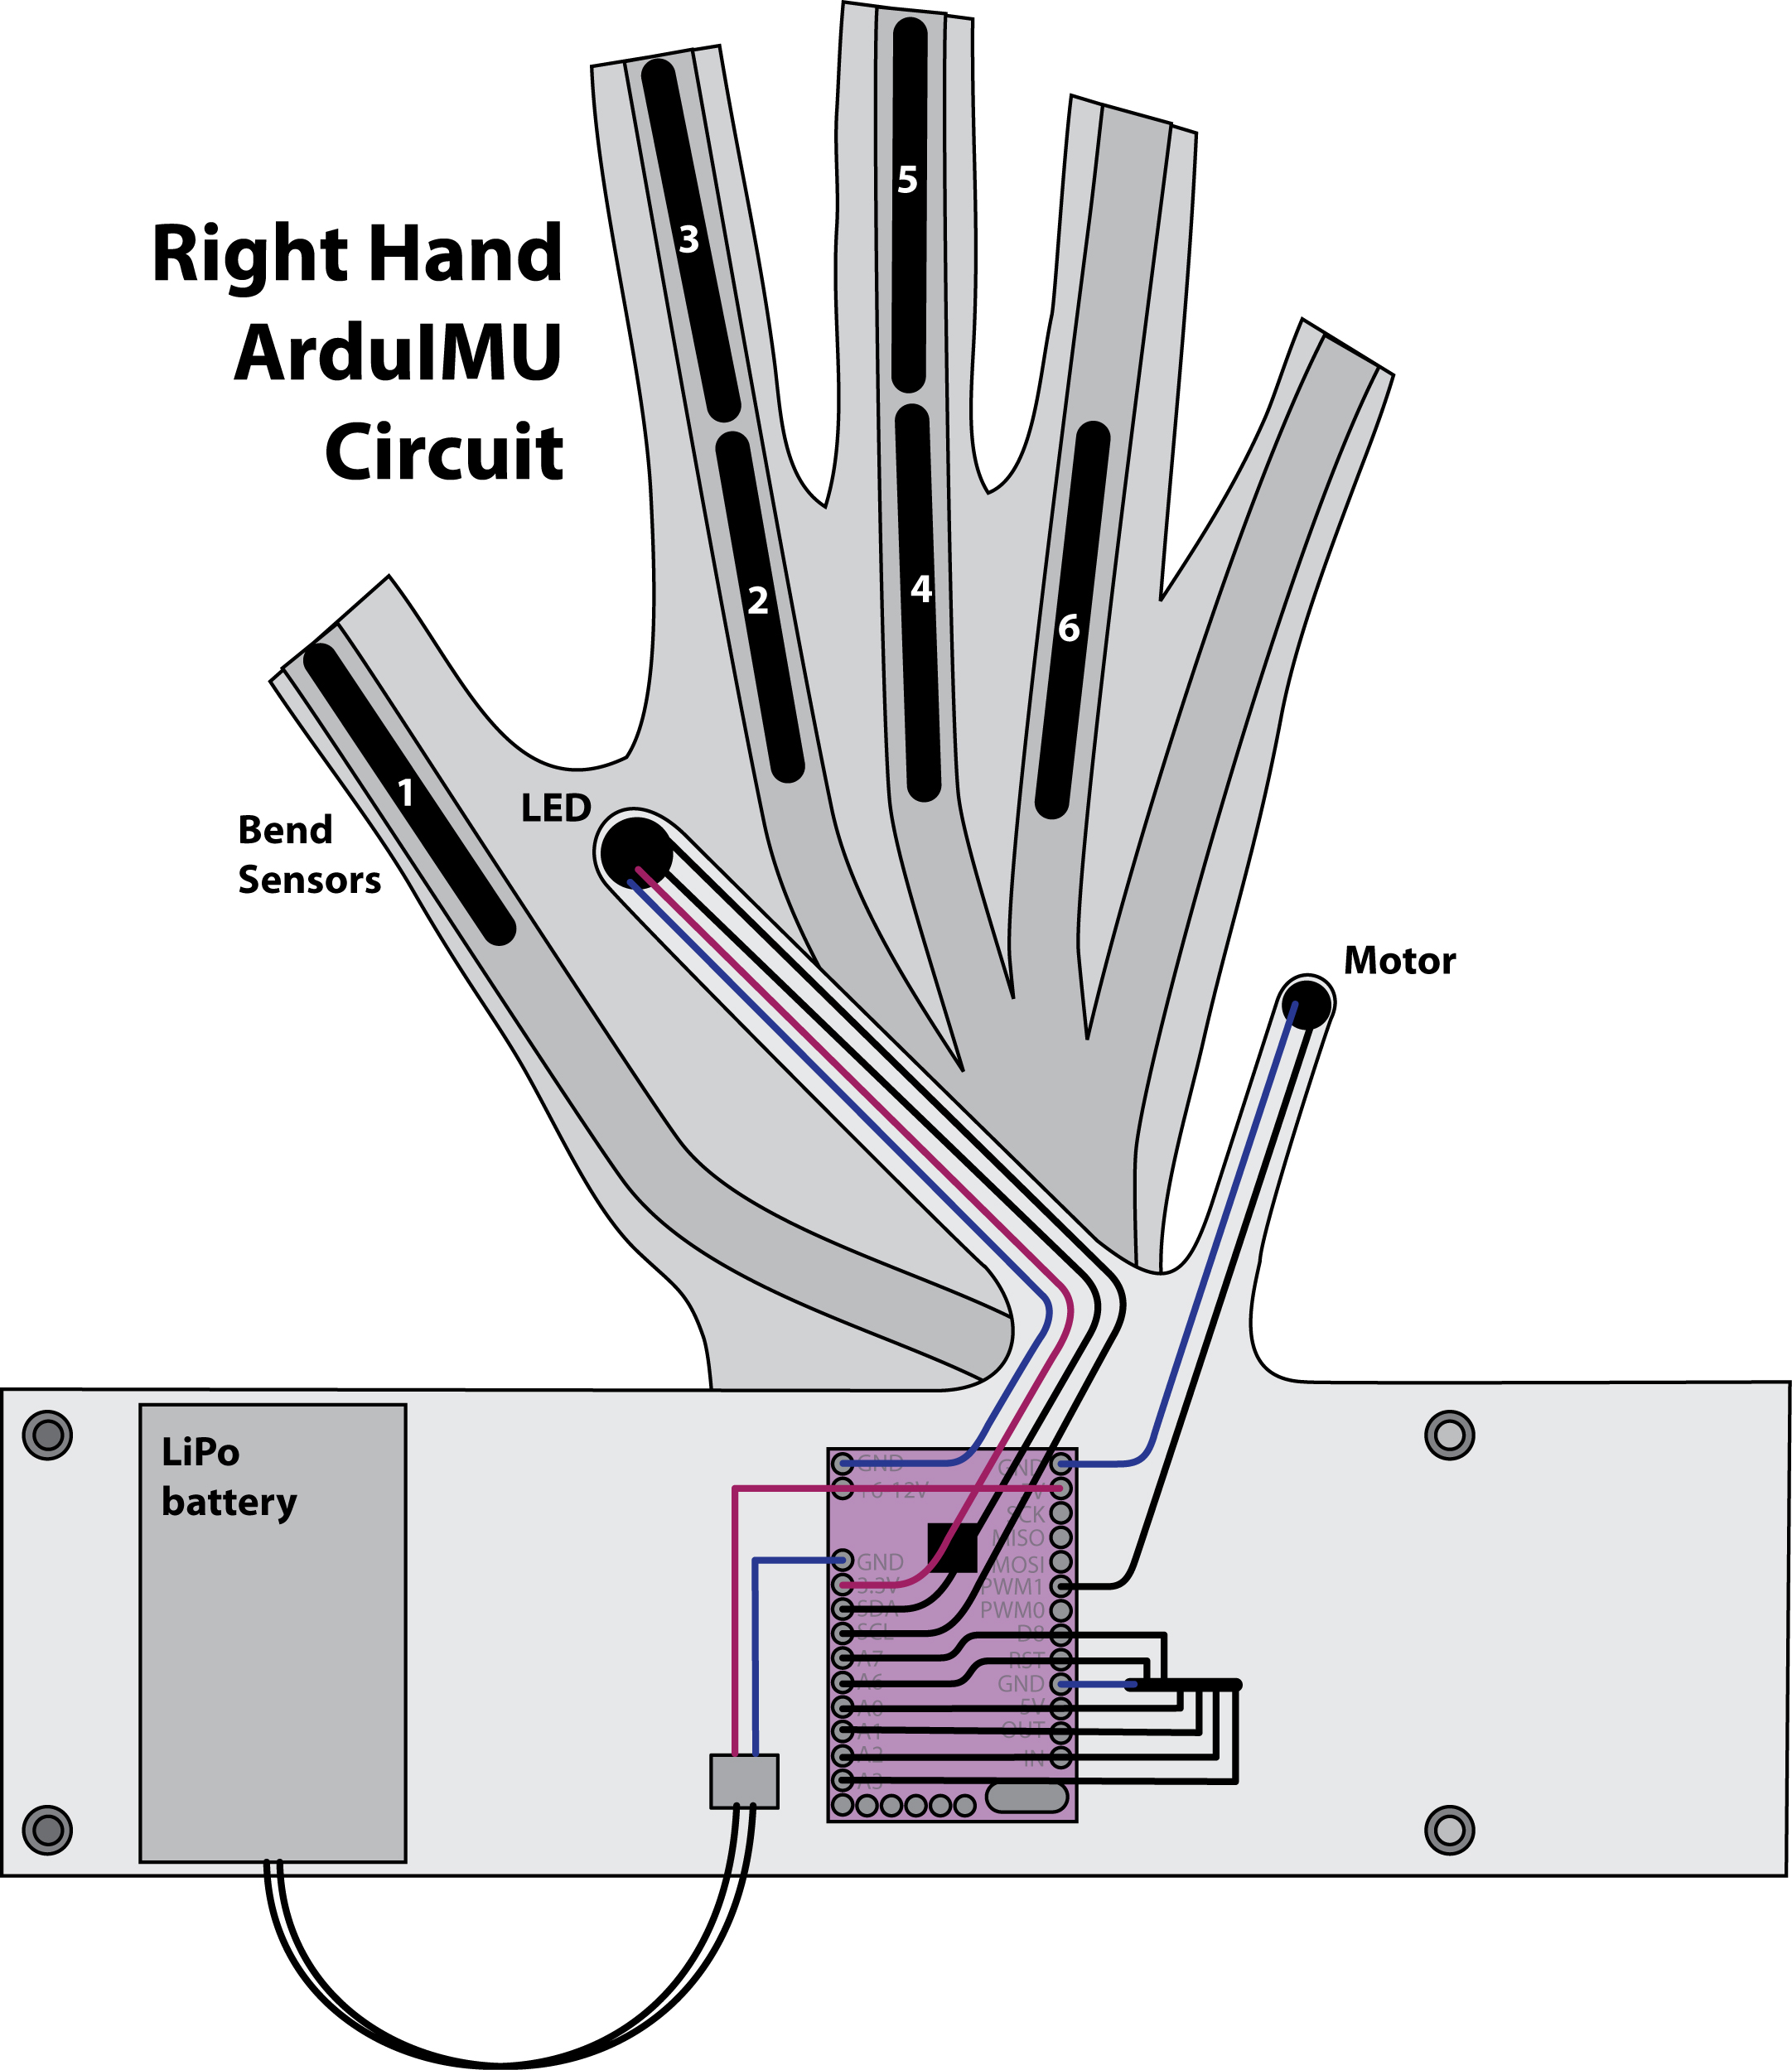
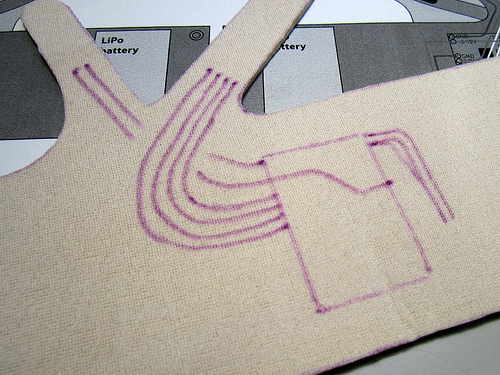
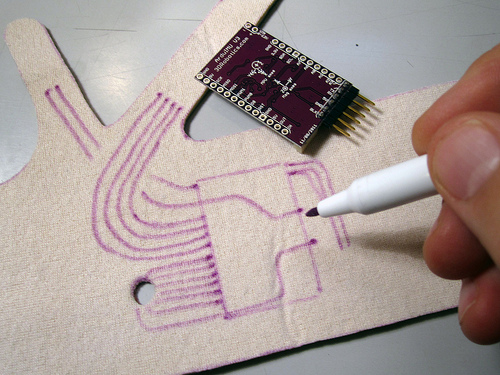
Understanding the Circuit Diagram
(Click on the illustrations bellow to download the original sizes)
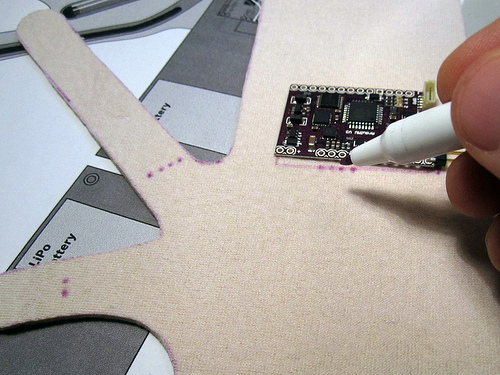
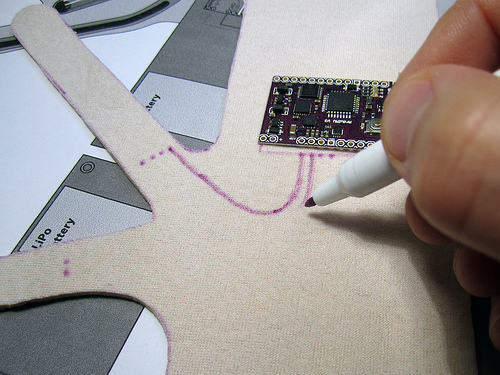
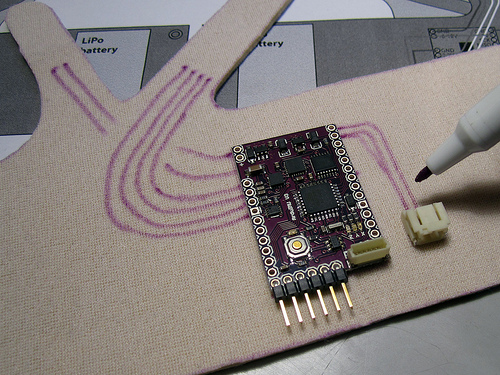
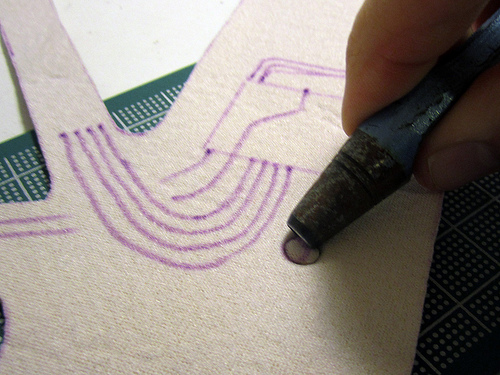
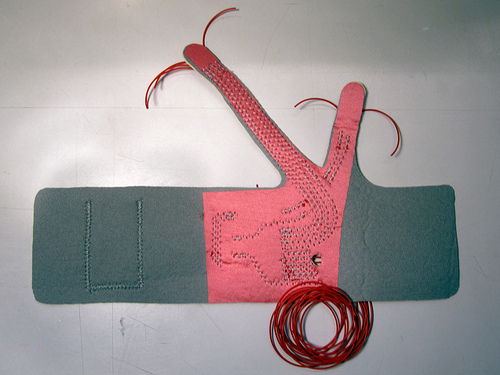
Copying the Circuit to Fabric
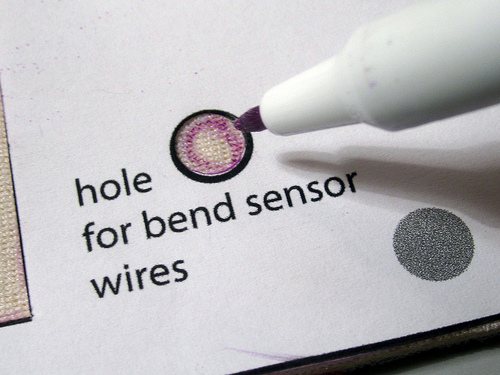
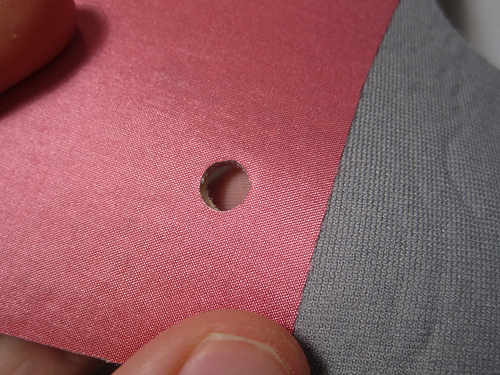
Making the hole
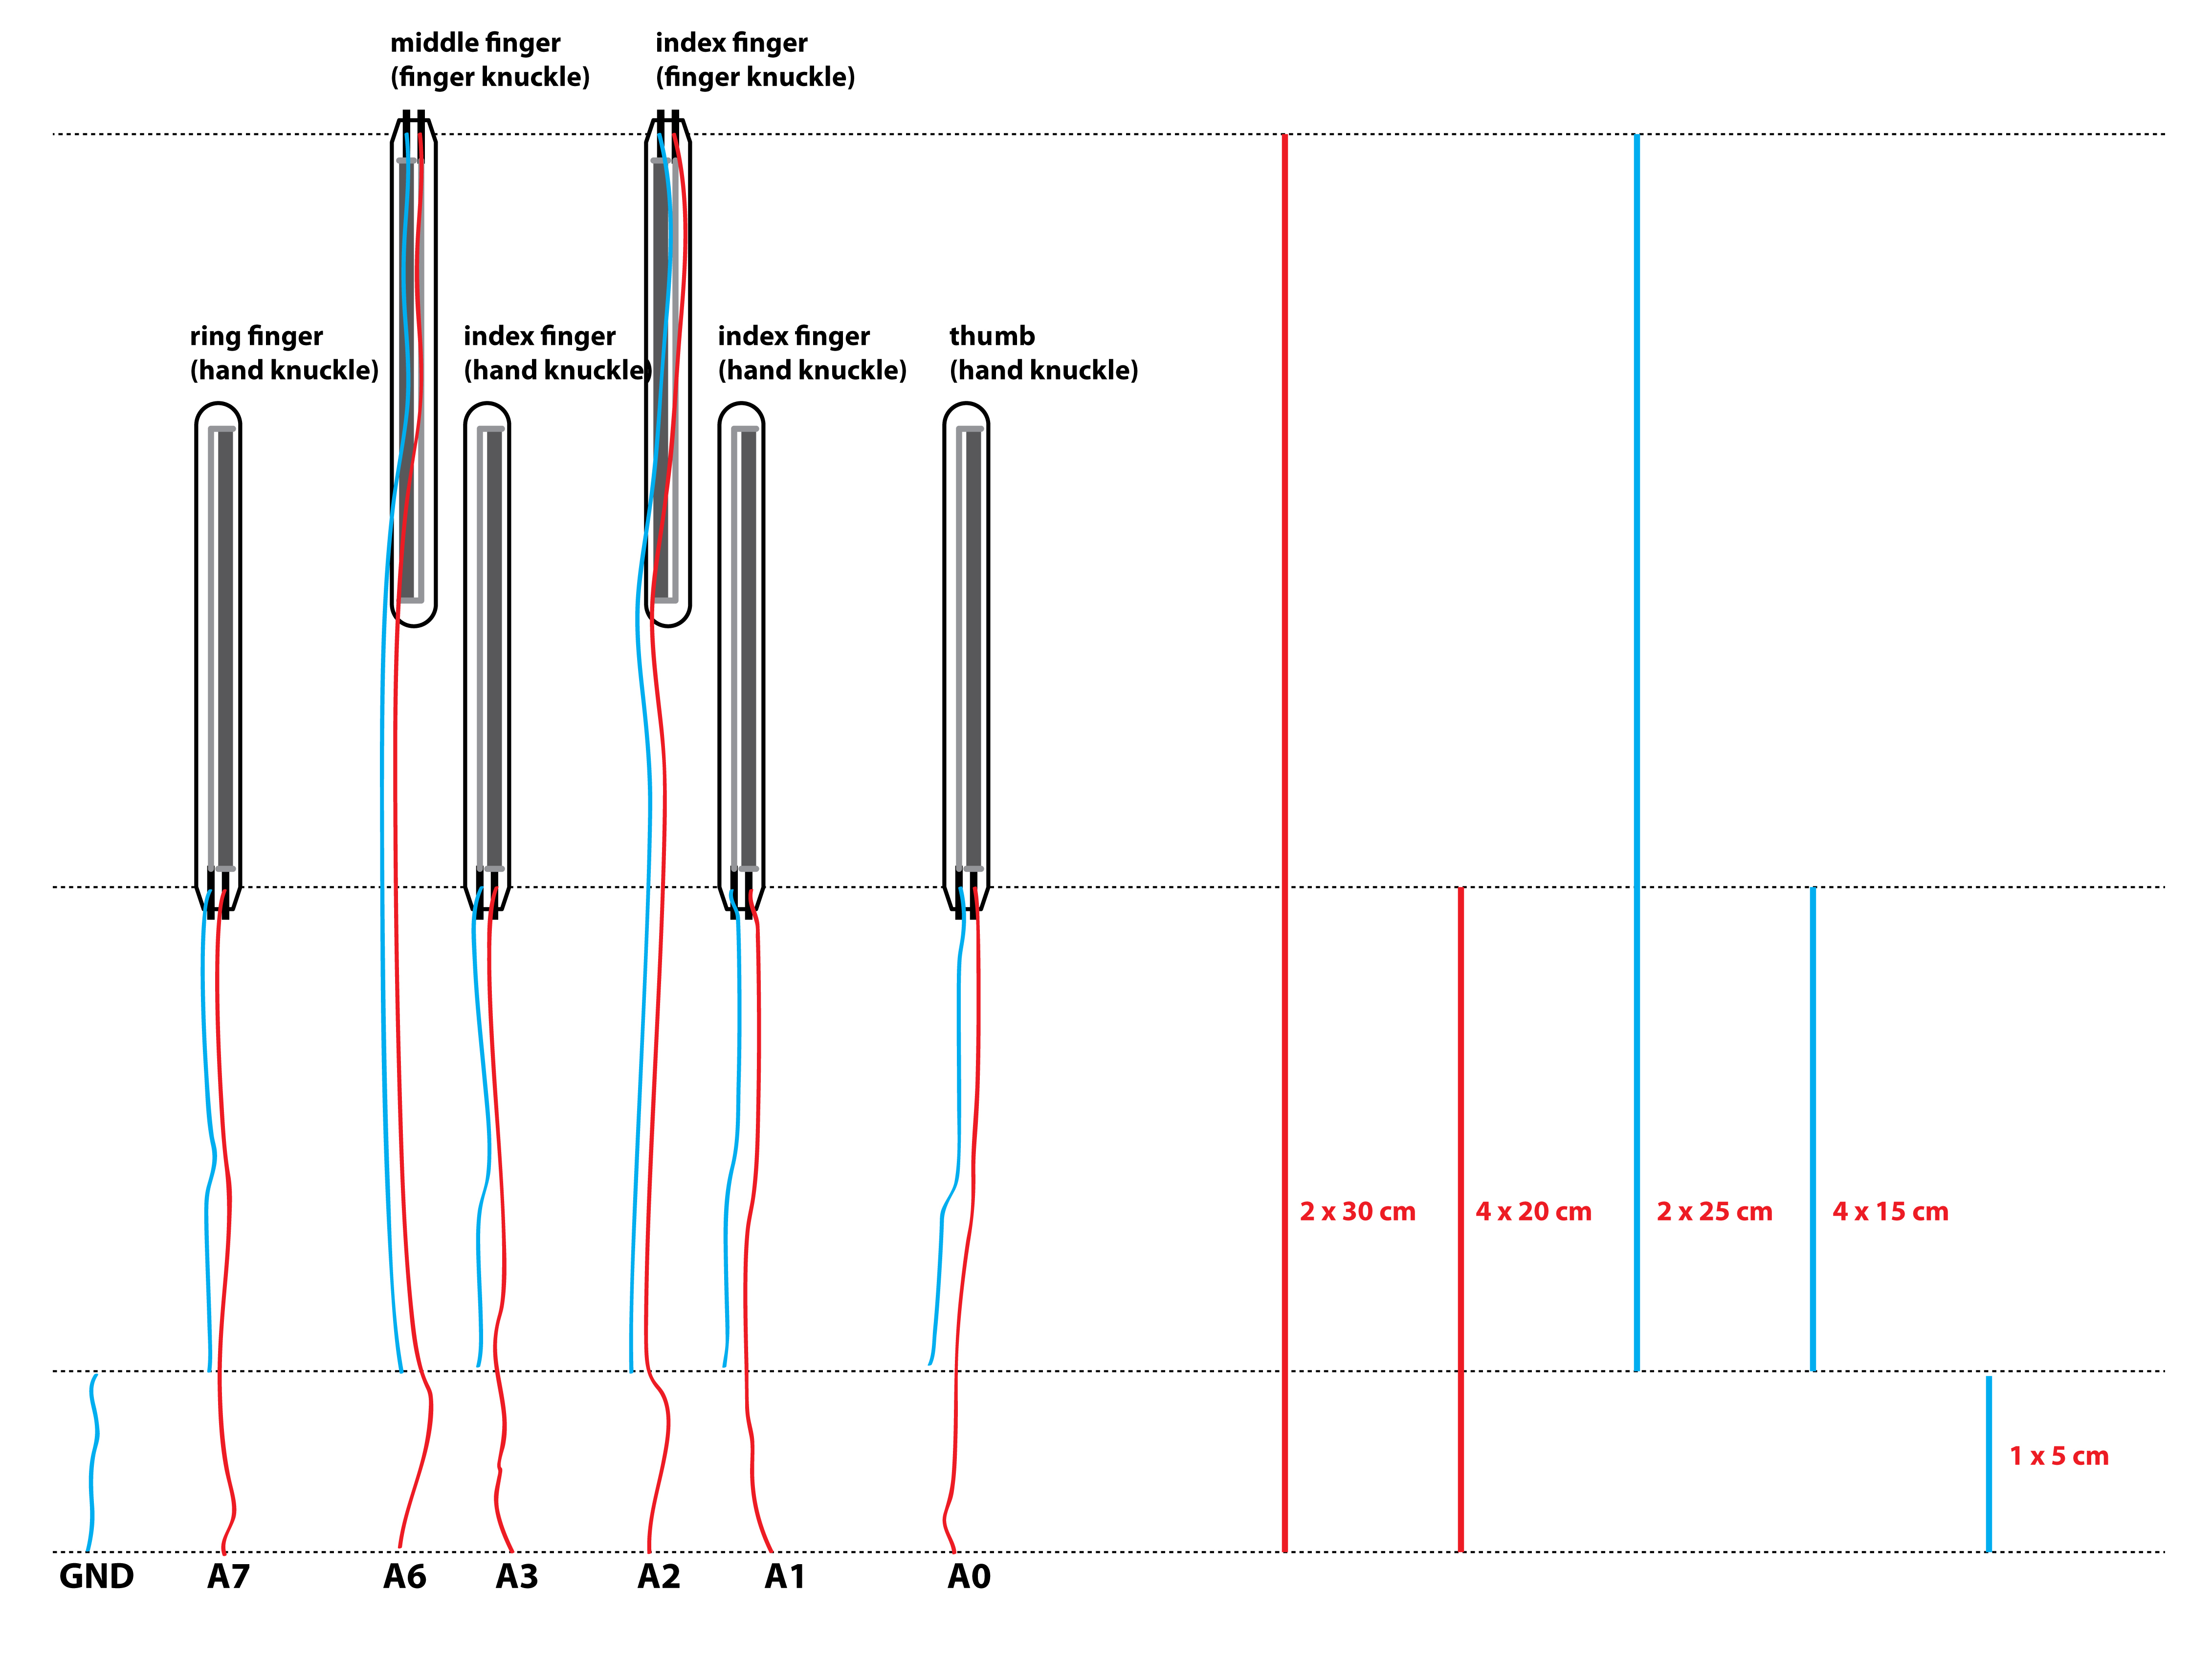
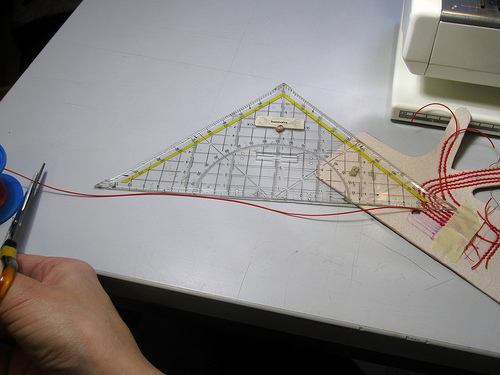
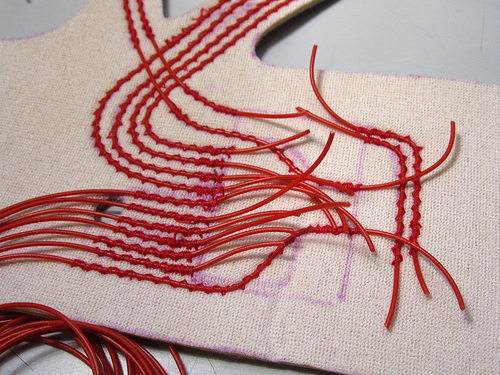
Cutting Wires for the Analog Pins/Bend Sensors
The 6 wires that connect to the analog pins of the ArduIMU need to be cut long enough so that the bend sensors soldered on the other end of them can be mounted over the finger and hand knuckles inside the veins of the glove. For the wires going to the analog inputs cut two 30cm long wires and four 20cm long wires. For the wire that goes from the ArduIMU GND to the bend sensors cut one 5cm long wire. The following illustration shows the logic behind these lengths. And you will also find a more detailed description of the bend sensor wiring in the step titled “Connecting the Bend Sensors”.
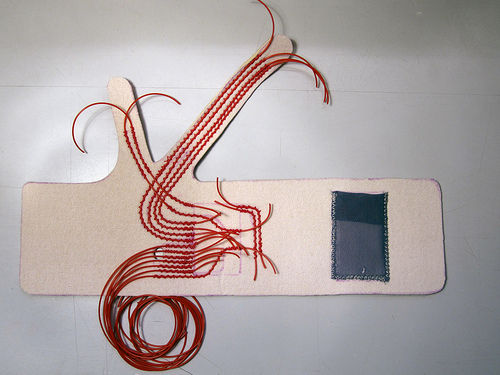
4 x 20cm (analog input wires to ring, middle, index and thumb hand knuckle sensors)
1 x 10cm (GND wire from bundled GND wires to ArduIMU GND connection) — mistake in illustration, this wire should be 10cm long not 5cm!

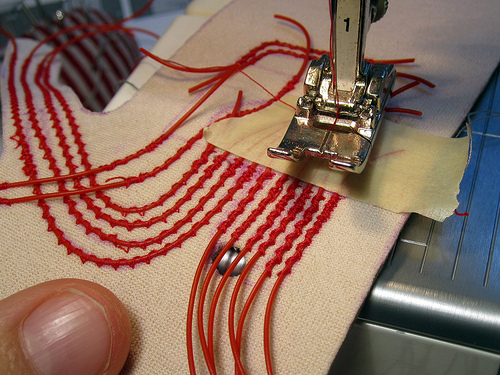
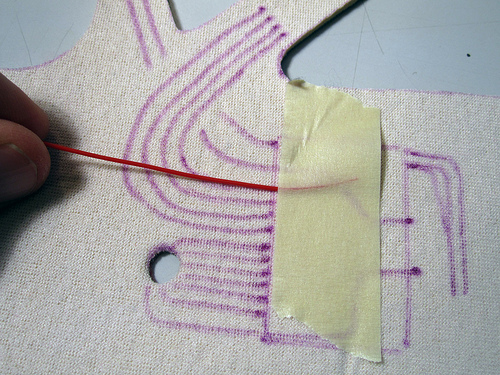
Sewing Down Wire
Stitch settings, 1.5-2 wide and 1.5-2 long:
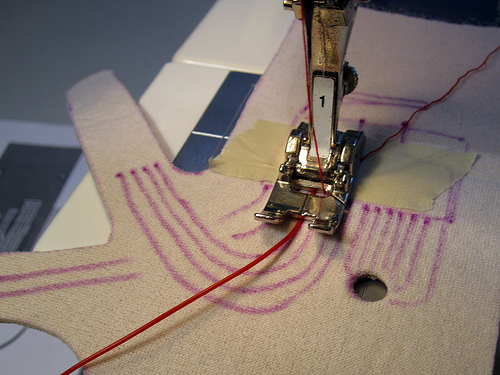
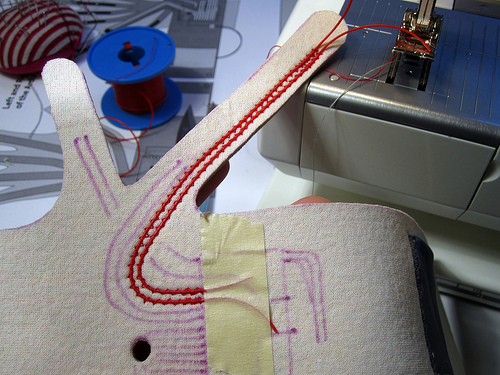
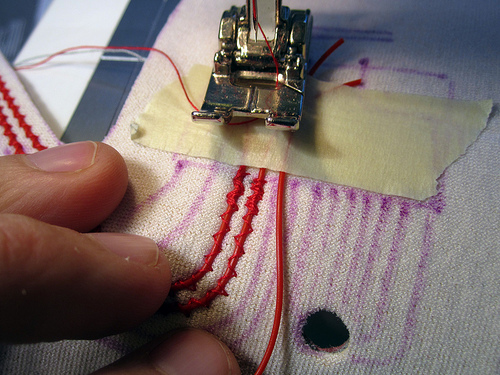
Video: Sewing the wire down to the neoprene

I’m planning on using conductive thread, and wondering if you choose not to for some reason?